The complete guide to streaming on YouTube Live

Written by Mahnoor Sheikh
Published on November 9, 2022
Reading time 13 minutes

While social content formats come and go, livestreaming is tried and true. Virtual events, workshops and webinars on platforms like YouTube Live were crucial during pandemic lockdowns, but do they still resonate now? You bet.
The popularity of livestreams stabilized as the world has opened up, and according to The 2022 Sprout Social Index™, 37% of consumers think livestreams are the most engaging type of content. With streaming on the rise brands will need to fine-tune their current strategy and prepare for the future of YouTube and livestreaming.
In this article, you’ll learn why YouTube Live should be a part of your YouTube marketing strategy, how to livestream on the platform and tips for creating engaging live content.
Table of contents
- What is YouTube Live?
- What are the benefits of YouTube Live?
- How to livestream on YouTube
- YouTube Live features to use
- How to get YouTube Live ideas
- YouTube Live best practices and streaming tips
What is YouTube Live?
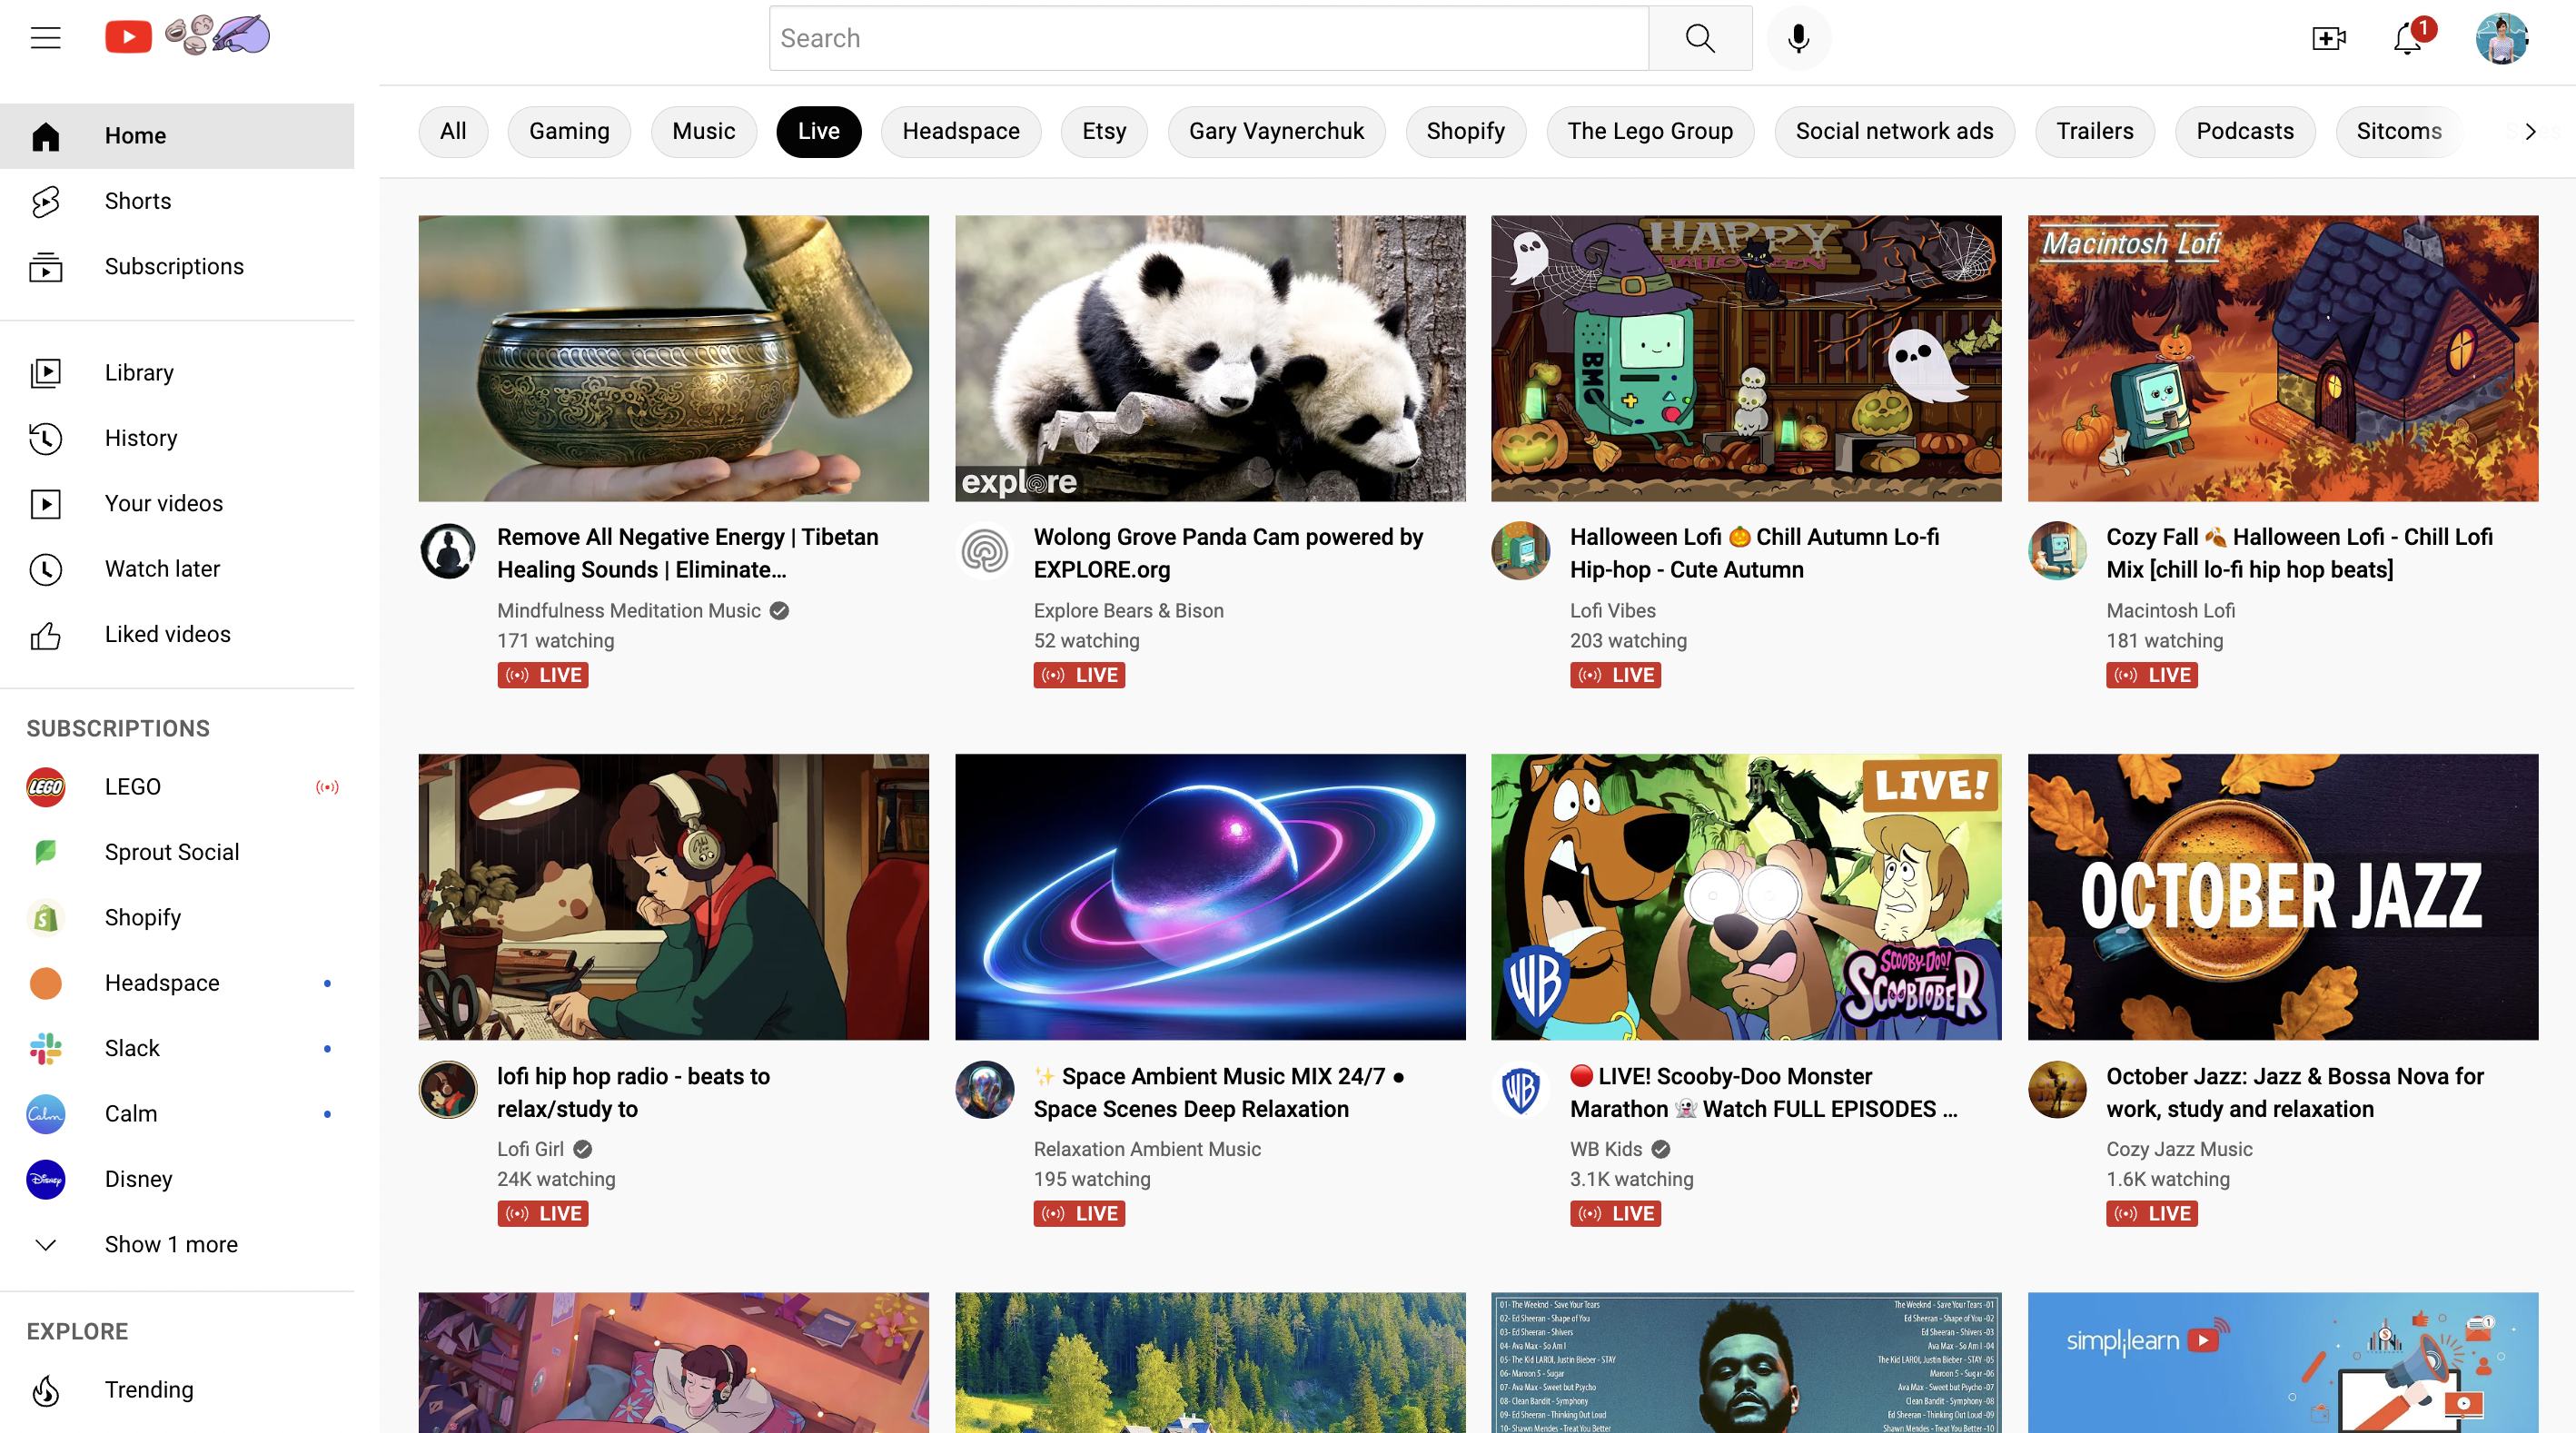
YouTube Live is YouTube’s livestreaming feature that enables content creators to interact with their audience in real time via video and chat. Users can watch trending livestreams in their country by clicking on “Live” from the left sidebar on YouTube via desktop.
If your audience has subscribed to your channel, previously watched or liked your content or interacted with content similar to yours, your Live videos and streams may display on your audiences’ YouTube feeds.
What are the benefits of YouTube Live?
Livestreaming presents serious opportunities for creators and your brand’s Video marketing strategy. In 2021, YouTube was the most popular platform for livestream ecommerce in the US.
Still not convinced that YouTube Live can expand your reach and brand awareness? Consider these unique ways using YouTube live helps you engage with your audience:
- Hosting virtual events: Organizing in-person events can be time-consuming and costly. YouTube Live is an excellent alternative for hosting workshops, webinars and product launches virtually with less spend. Plus, virtual events make it easier for more people to attend globally.
- Interacting with your audience in real time: Livestreaming empowers you to talk directly to your audience, respond to compliments and react to humorous comments. Having a two-way conversation with your audience builds stronger connections with them.
- Answering questions instantly: Just as with any in-person event, going Live on YouTube enables you to respond to questions and comments instantly and in real time, which leads to higher audience satisfaction. You can solve problems, teach and even answer questions about your product—all in a more personal and immediate way.
- Standing out from the competition: Youtube is the second most popular website, with more than 2.58 billion monthly active users. More than 500 hours of video content is uploaded to YouTube daily. Since livestreams still make up a relatively smaller percentage of that content, they can help you stand out and look unique.
Now that you’re aware of the key benefits of YouTube Live for business, let’s talk about how to live stream on YouTube.
How to livestream on YouTube
Before you go live, you need to make sure you’ve set up your channel, equipment and met the YouTube livestream requirements. Here are the steps you need to get started:
1. Enable livestreaming
Before you can dive into YouTube Live, enable livestreaming on your device or devices.
If you’re using a web browser, follow these steps:
- Open YouTube in your browser
- Click on the Create symbol at the top

- Click on Go Live
- Request access and verify your channel (if you haven’t)
- Wait until livestreaming is enabled—this may take up to 24 hours
If you’re using a mobile device or tablet (Android, iPhone or iPad), follow the steps below:
- Open the YouTube app
- Tap the Create symbol at the bottom
- Tap Go Live
- Wait until livestreaming is enabled—this may take up to 24 hours
YouTube livestream requirements
While you may be excited to jump in and go live, there are a few requirements you’ll have to meet first:
- Verify your channel—this is a simple, fast process
- Avoid any YouTube livestreaming restrictions in the past 90 days
- Have at least 50 subscribers to go live on mobile devices—this requirement is not in place for streaming from a computer
- Be patient—once you enable livestreaming (steps listed above), it can take up to 24 hours before you’re able to stream
Heads up: If you have under 1,000 subscribers, your mobile livestream viewers may be limited by YouTube. And for users aged 13-17, the default privacy setting is set to Private or Unlisted (for mobile.) This means the stream is not going to show up in search results or recommendations. For users aged 18+, the livestream’s privacy will be set to Public by default.
2. Choose a stream type based on your purpose
YouTube lets you livestream in three different ways. Let’s take a look at each one briefly and when to use it.
- Mobile: To go live from your mobile device, like a phone or tablet, you need to have a verified YouTube channel with at least 50 subscribers. This is a good option for vlogging or sharing quick updates on the go.
- Webcam: All you need to go live is a computer and a webcam. This is useful for simple livestreams that don’t require too many resources. For example, you can conduct a quick Q&A session or share your thoughts on a specific topic.
- Encoder: This is ideal for gaming streams, concerts, business events, podcasts and interactive presentations. If you want to share your screen in your livestream, or use multiple cameras, microphones and other hardware, the encoder option is for you.
3. Choose a title, description and thumbnail image
You’re almost ready to use YouTube Live!
The only thing left to do is to choose a title, description and an attention-getting thumbnail image for your livestream.
Here are some best practices when adding these details to help you reach a bigger audience:
- Create an eye-catching title: Well-written titles can mean the difference between someone clicking on your livestream or scrolling right past it. Make sure you write catchy titles that accurately describe your video and pique interest. And take YouTube SEO into account—using strong keywords helps your livestreams show up in search results.
- Optimize your description: Just like the title, your livestream description should include important keywords to help it rank higher in search results. You should also add relevant links and information in your description to help your audience understand what they’re watching and where they can go to find out more.
- Design a custom thumbnail: Your thumbnail is probably the first thing your audience sees about your livestream. Capture attention by designing a custom thumbnail—at the correct size for social media—that captures the essence of your video in an engaging, vibrant manner.
- Add calls to action: If you want your audience to take any specific actions during or after they watch your livestream, add CTAs to your description or within the stream to visit your website, social media profiles or any other resource.
4. Start livestreaming
All set and ready to go live? Follow the steps below to start (and end) your livestream on mobile, desktop and encoder.
How to livestream on YouTube on mobile or a tablet
- Open the YouTube app
- At the bottom of the screen, tap on Create (plus sign button) → Go Live
- Tap More options to schedule your stream for later and adjust settings for age restriction, live chat, monetization, to schedule for later and more. Then tap next.
- To share your mobile device’s screen, tap on Create channel → Share screen
- Tap Go Live to start streaming
- To end your livestream, click on Finish
How to livestream on YouTube using a computer and webcam
- Sign in to YouTube in your browser
- Click on Create → Go Live in the top-right corner
- Select Webcam from the left
- Add a title and description, set the privacy and schedule your livestream if you’d like to go live at a later date
- Select More options → Advanced Settings for additional settings you want to set
- Click on Next to capture a thumbnail with your camera
- Ensure you’ve selected the right webcam and microphone
- Tap Go Live to start streaming
- Click on Edit to adjust settings for privacy, monetization, live chat, add tags and more
- Tap End Stream at the bottom when you’re done
Here’s how to livestream via an app through iOS ReplayKit—think, drawing or painting pieces of art while livestreaming through an app like Procreate:
- Open the app you’re planning to stream from
- Go to the livestreaming menu → select YouTube
- Follow the prompted steps
- Tap Go Live
How to livestream on YouTube using an encoder
- Sign in to YouTube
- Click on Create → Go Live to enable livestreaming
- Tap Stream on your left and click on Create Stream
- Install an approved encoder
- Connect any additional hardware, such as cameras and mics

- Connect your encoder by entering your YouTube Live server URL and stream key
- Start streaming
Google Support has more information about livestreaming on YouTube using an encoder.
5. What you can and can’t stream on YouTube Live
Your livestream must adhere to YouTube’s Community Guidelines and Terms of Service. If you fail to meet the guidelines, YouTube may restrict your content or remove it from the platform altogether. And a restriction on your livestream may result in a strike on your YouTube channel, which can prevent you from going live for 14 days.
YouTube Live features to use
Now that you know how to start a livestream on YouTube, let’s talk about some features and YouTube tools you can use to enhance, promote, analyze and monetize your livestream effectively.
1. Cross-channel live redirects
You can direct viewers from your livestream, to livestreams on other channels outside of your own. This opens up new ways to collaborate with other YouTube creators and drive viewers to your other channels.
You need at least 1,000 subscribers to take advantage of this feature, and permission from the channel you want to redirect to via YouTube Studio.
2. Go Live Together
Go Live Together allows creators livestreaming on mobile to invite guests to join their livestream via a link.
This is a feature YouTube is testing out in 2022, and one to keep an eye out for once it rolls out to a larger audience.
Note: While you will have access to streaming analytics for this content, guests will not, nor will they benefit from ad revenue gained during the shared stream.
3. Create clips
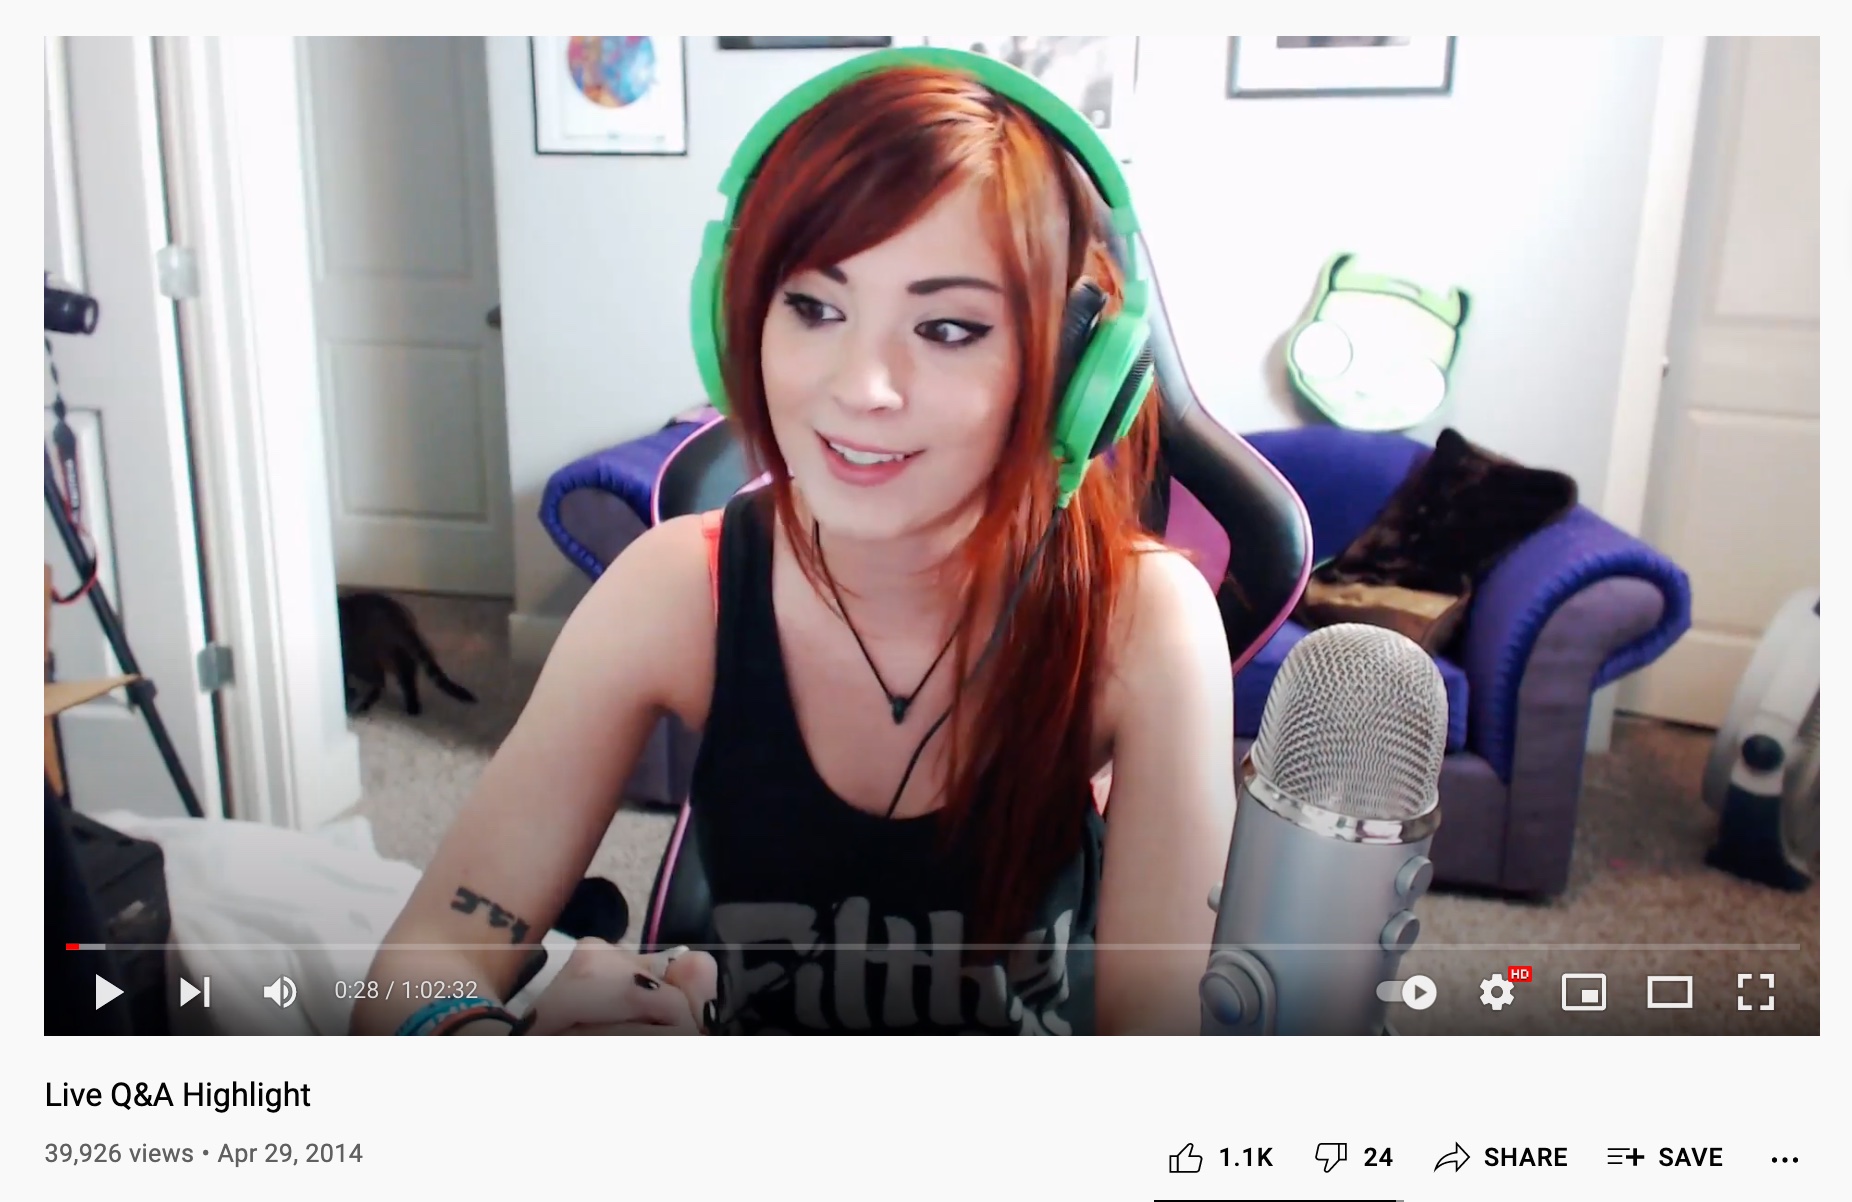
YouTube allows you to take short snippets from your livestreams and turn them into highlights to post as standalone videos on your YouTube channel.
This makes it easy to repurpose livestream content—especially useful for streams that cover a lot of topics, such as a Q&A session. You can create multiple highlights, each focusing on a specific topic or question.
When you post a highlight on YouTube, it will appear on your channel just like a regular uploaded video.
You can create highlights during or after your livestream. If you want to mark interesting moments while you’re still live, add stream markers to pinpoint the exact minutes. Refer to these markers later to easily create highlights.
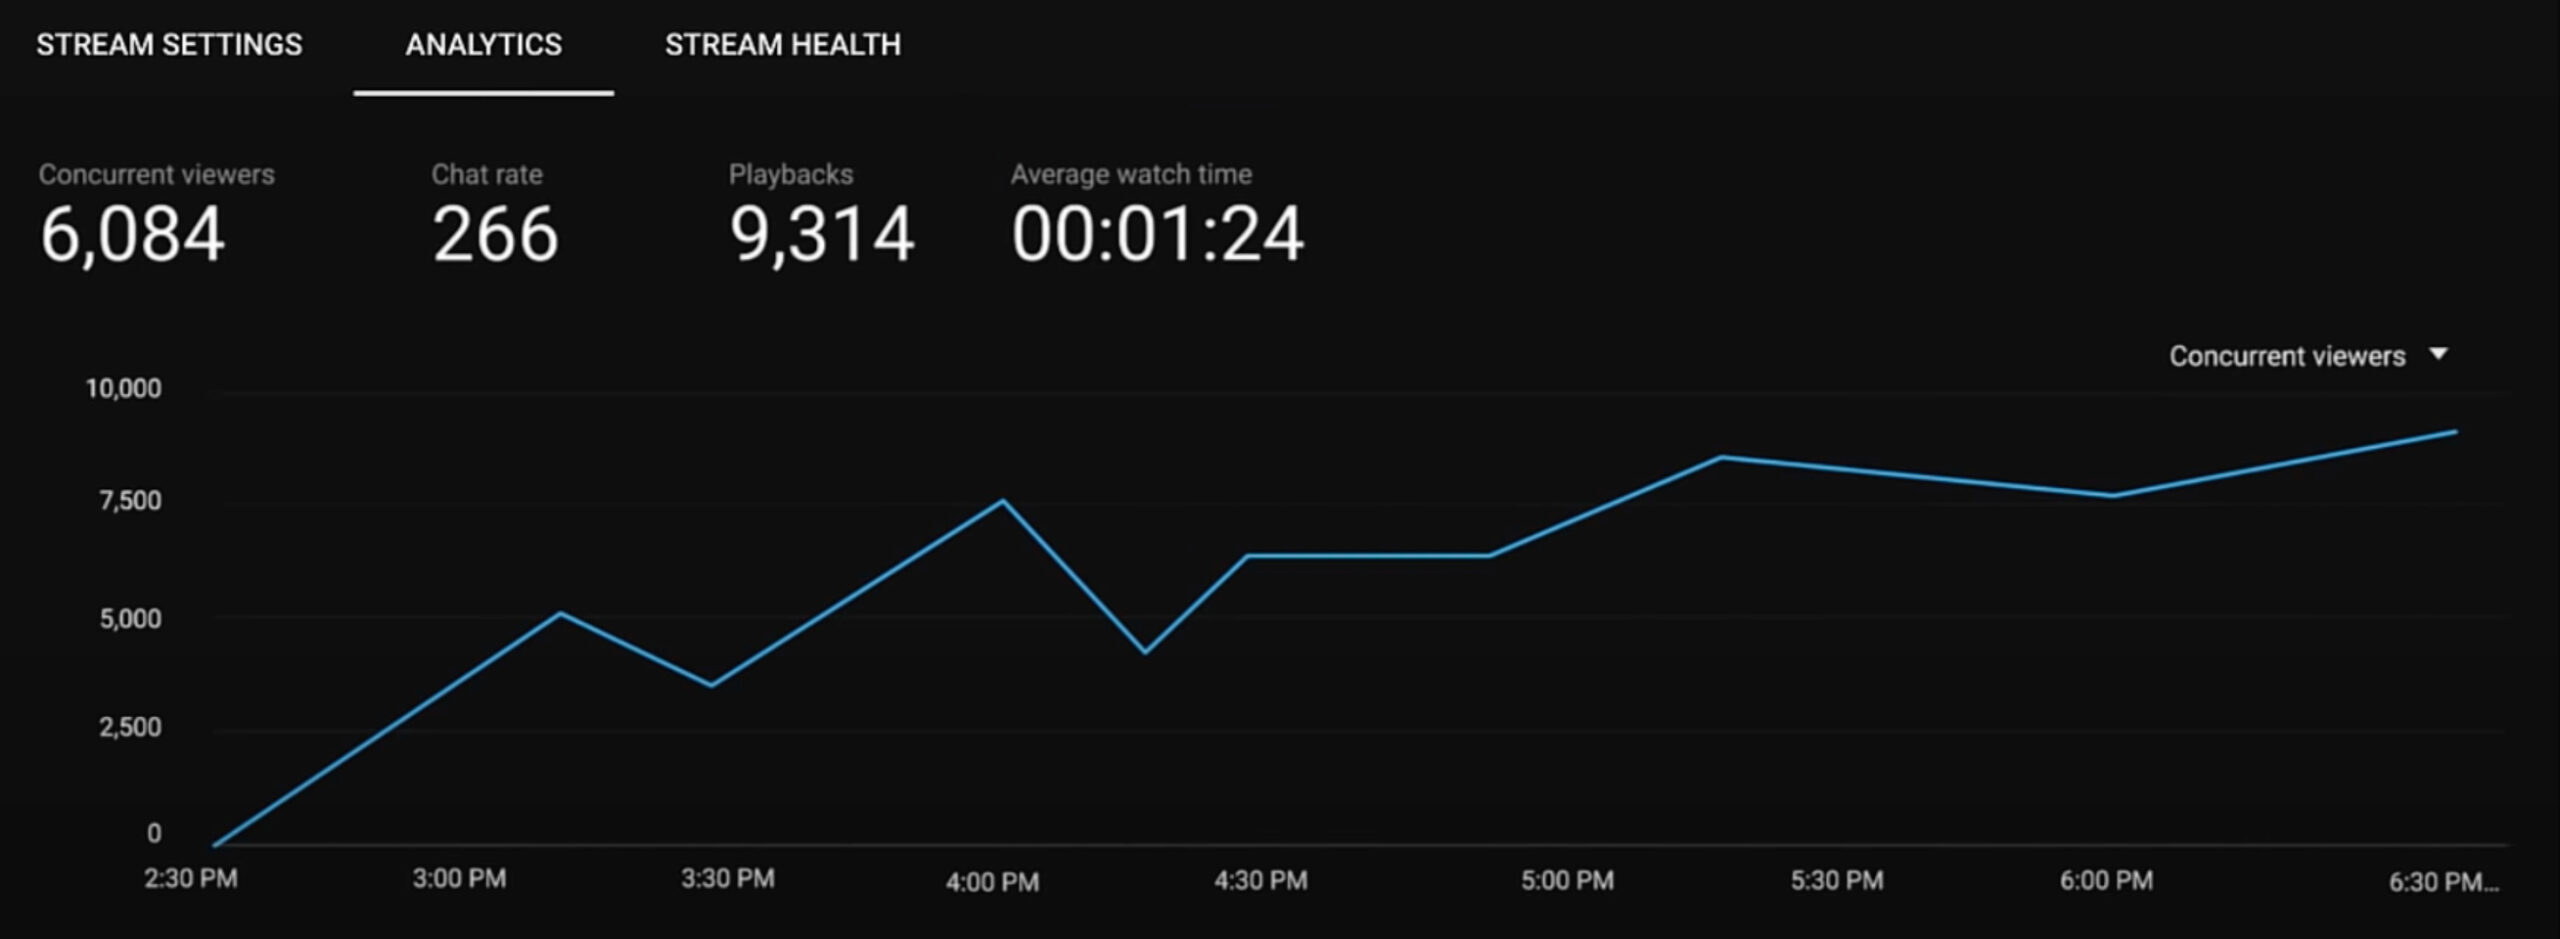
4. Track your livestream’s metrics
A useful feature of YouTube Live is the ability to track the real-time performance of your livestream on all three devices; mobile, tablet and desktop. This enables you to quickly detect and fix any issues, and analyze your engagement.
There are three main types of analytics you can track:
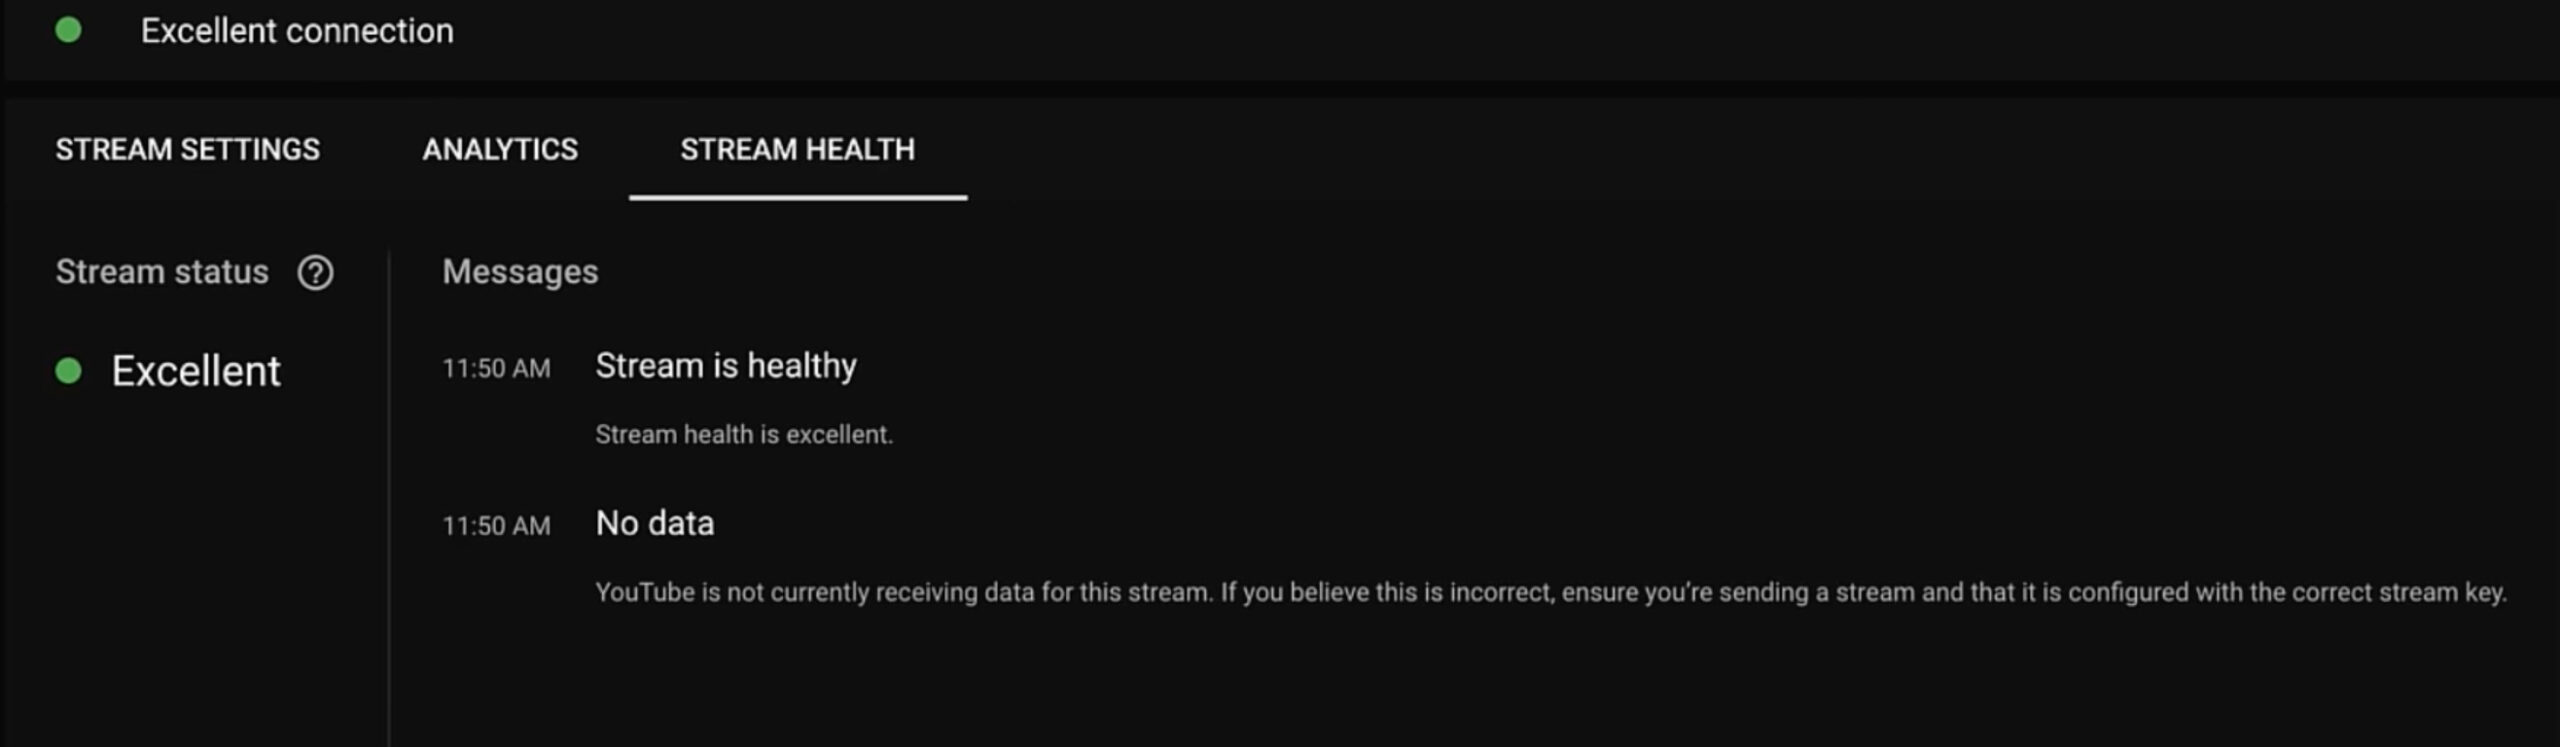
- Stream health: This will notify you of any potential issues with your livestream so you can quickly rectify them to avoid a dip in viewer count.
- Real-time analytics: During your livestream, you’ll be able to track metrics like your stream’s total duration, total viewer count and total likes. If you’re on desktop, you can also view the chat rate, total playbacks and your stream’s average watch time.
- Post-stream analytics: After your livestream ends, you’ll get a quick summary of how your stream performed. This includes the total playbacks of your stream, the average watch time, the peak times and the number of new subscribers you gained through the stream.
You can also use YouTube Analytics to view an in-depth report on your audience retention, demographics, traffic sources, playback locations and other metrics.
5. Premiere a new video
Premiering a video on YouTube lets you watch the video with your audience in real time.
Unlike livestreams, video premieres are not exactly live. They are videos that are uploaded and scheduled to play at a certain time with live chat and other interactive features. So while it’s not live per se, it still creates an interactive experience with your audience in real time.
Here’s how you can premiere a video on YouTube:
- Sign in to YouTube
- Click on Create → Upload video
- Select the video you want to upload and edit its details
- To immediately premiere a video, go to Save/Publish → Public → Set as Instant Premiere
- To schedule the premiere for later, tap Schedule, select a date and time and click on Set as Premiere
- Click on Done or Schedule
Once you’ve set up a premiere, a watch page will be created for your video on your YouTube channel, just like other uploads. Viewers will be able to visit the page to set reminders, leave comments and use Super Chat, if enabled.
Once the premiere is over, the video will stay on your channel as a regular upload.
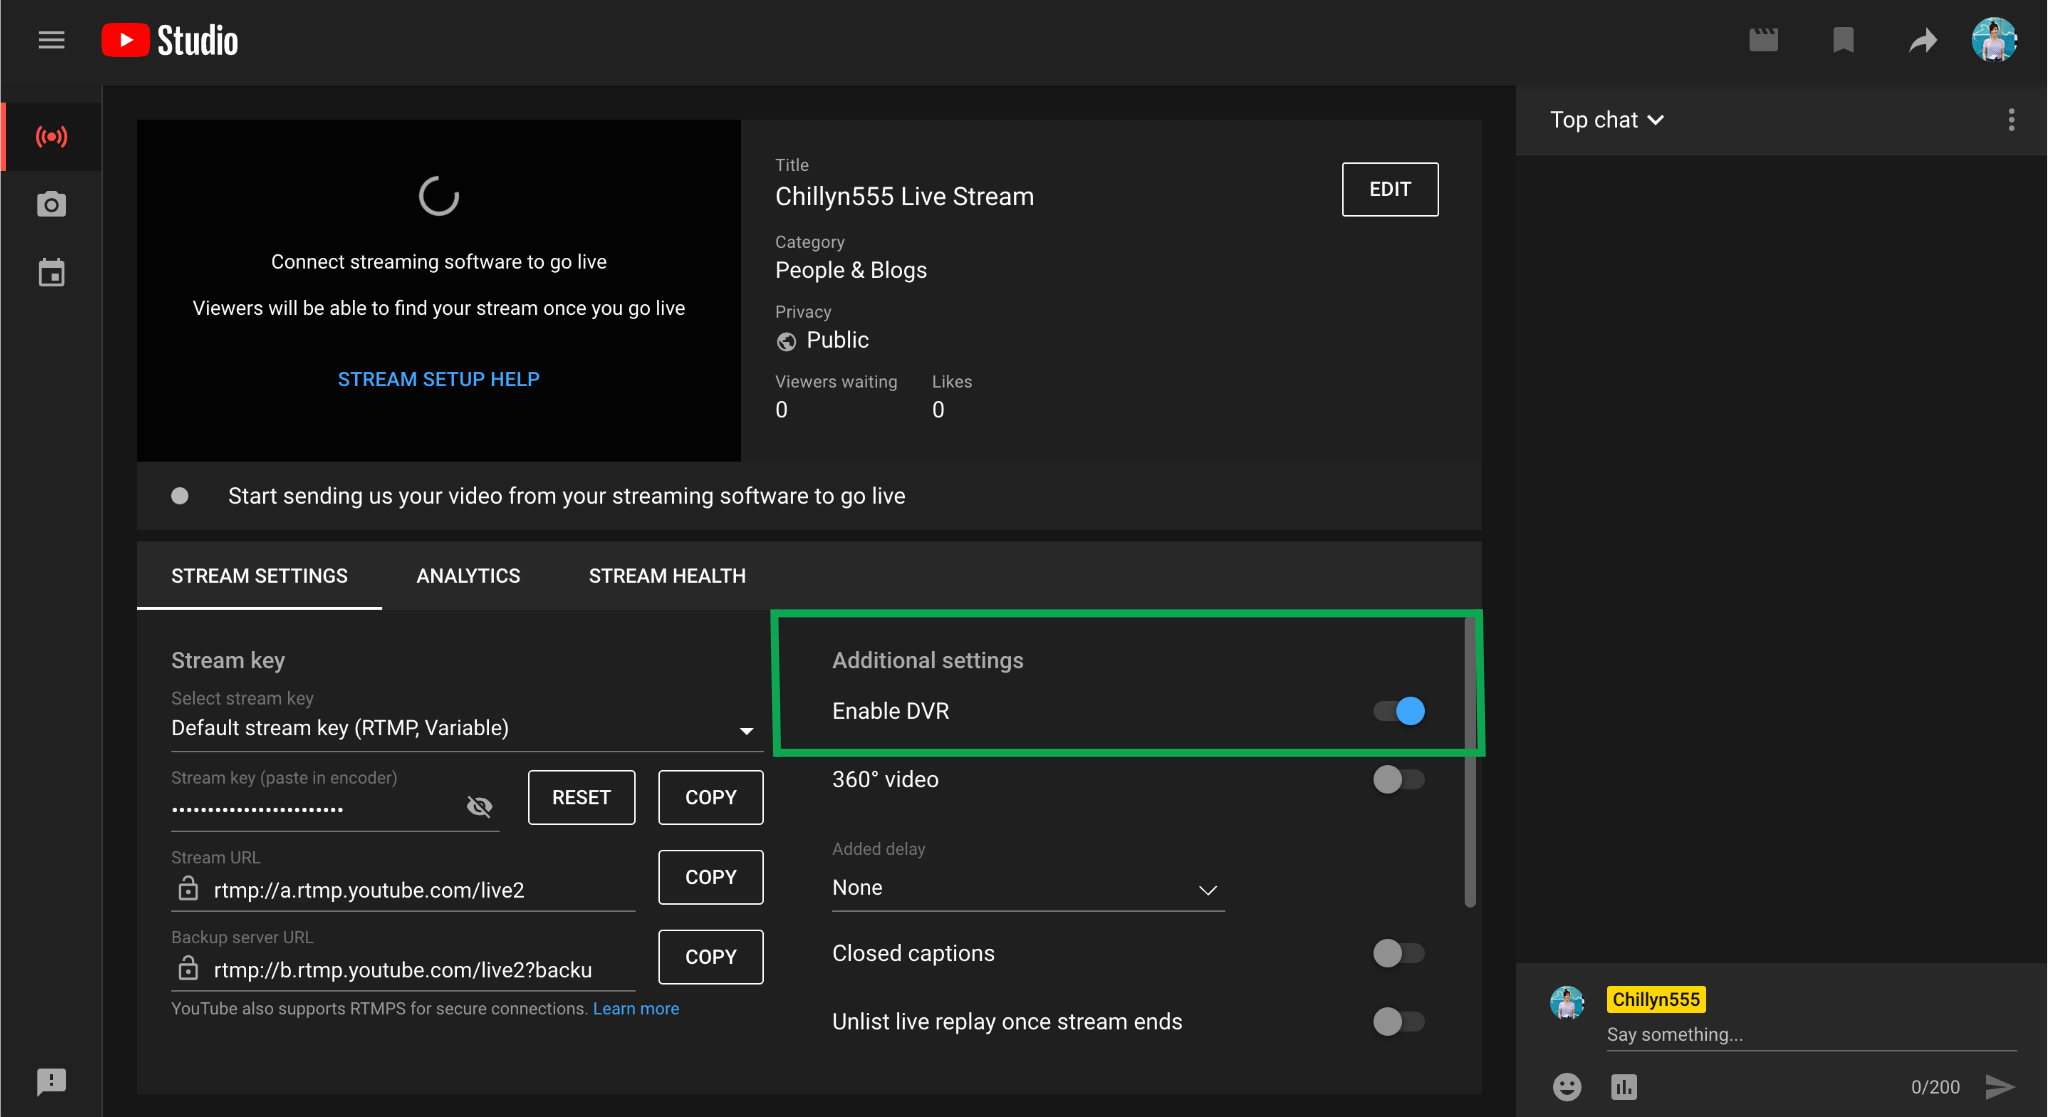
6. Turn on livestream DVR
YouTube’s Digital Video Recording (DVR) feature allows viewers to pause, rewind and continue watching your livestream.
Here’s how to enable DVR on your livestream:
- Go to YouTube Studio
- Click Create → Go Live
- Tap Stream on your left to start livestreaming or click Manage to schedule for later
- From the dashboard, tap Enable DVR
YouTube’s DVR feature also comes with a few limitations, including limitations on how far back in the video you can “rewind,” depending on latency of livestream rights.
You can disable DVR from Advanced Settings if you want viewers to only watch your stream live. Disabling DVR restricts viewers from going back to a specific time in your stream, until the stream ends. However, you can’t disable DVR for webcam or mobile streaming.
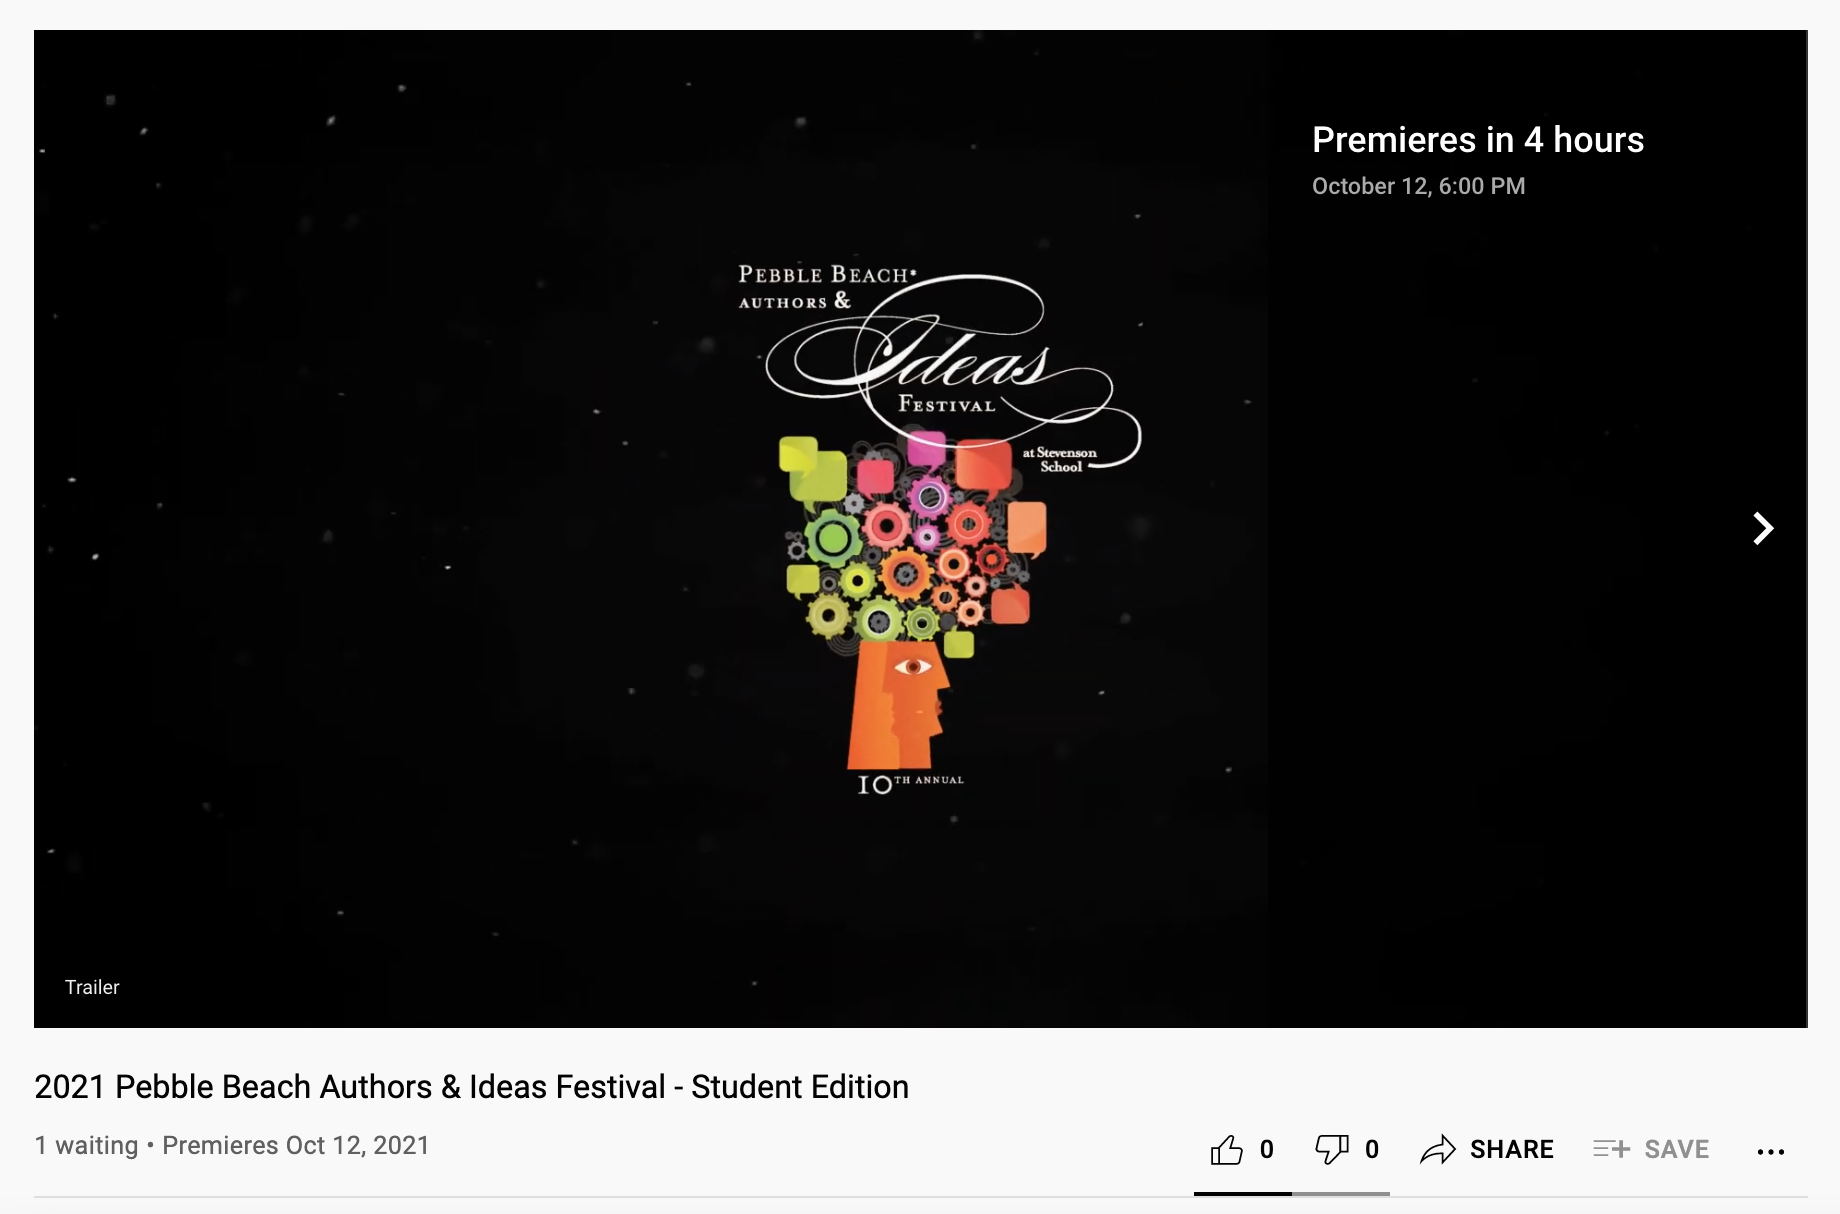
7. Show a trailer
As a way to promote your YouTube Live event, show a trailer. Trailer length can range from 15 seconds up to 3 minutes. These play on your channel’s watch page before your Live event to create hype and interest.

To upload a trailer, follow the steps below:
- Go to YouTube Studio and select the video you want to upload
- In the Visibility tab, schedule the video as a Premiere
- Click on Set up Premiere
- Tap Add under Add a trailer to choose your trailer
Note: This feature is only available to creators with more than 1000 subscribers and no Community Guideline strikes.
8. Monetize your livestream
One of the benefits of going live is the ability to make money from your streams. There are several ways you can monetize on YouTube Live:
- Ads: Running ads on your videos is a great way to earn some extra revenue by monetizing your YouTube livestream. YouTube allows you to run pre-roll, mid-roll, display and overlay ads on your livestreams.
- Super Chat: Enabling this feature allows your viewers to purchase chat messages. When someone sends a Super Chat, their message is highlighted or pinned at the top of the chat feed, making them feel exclusive.
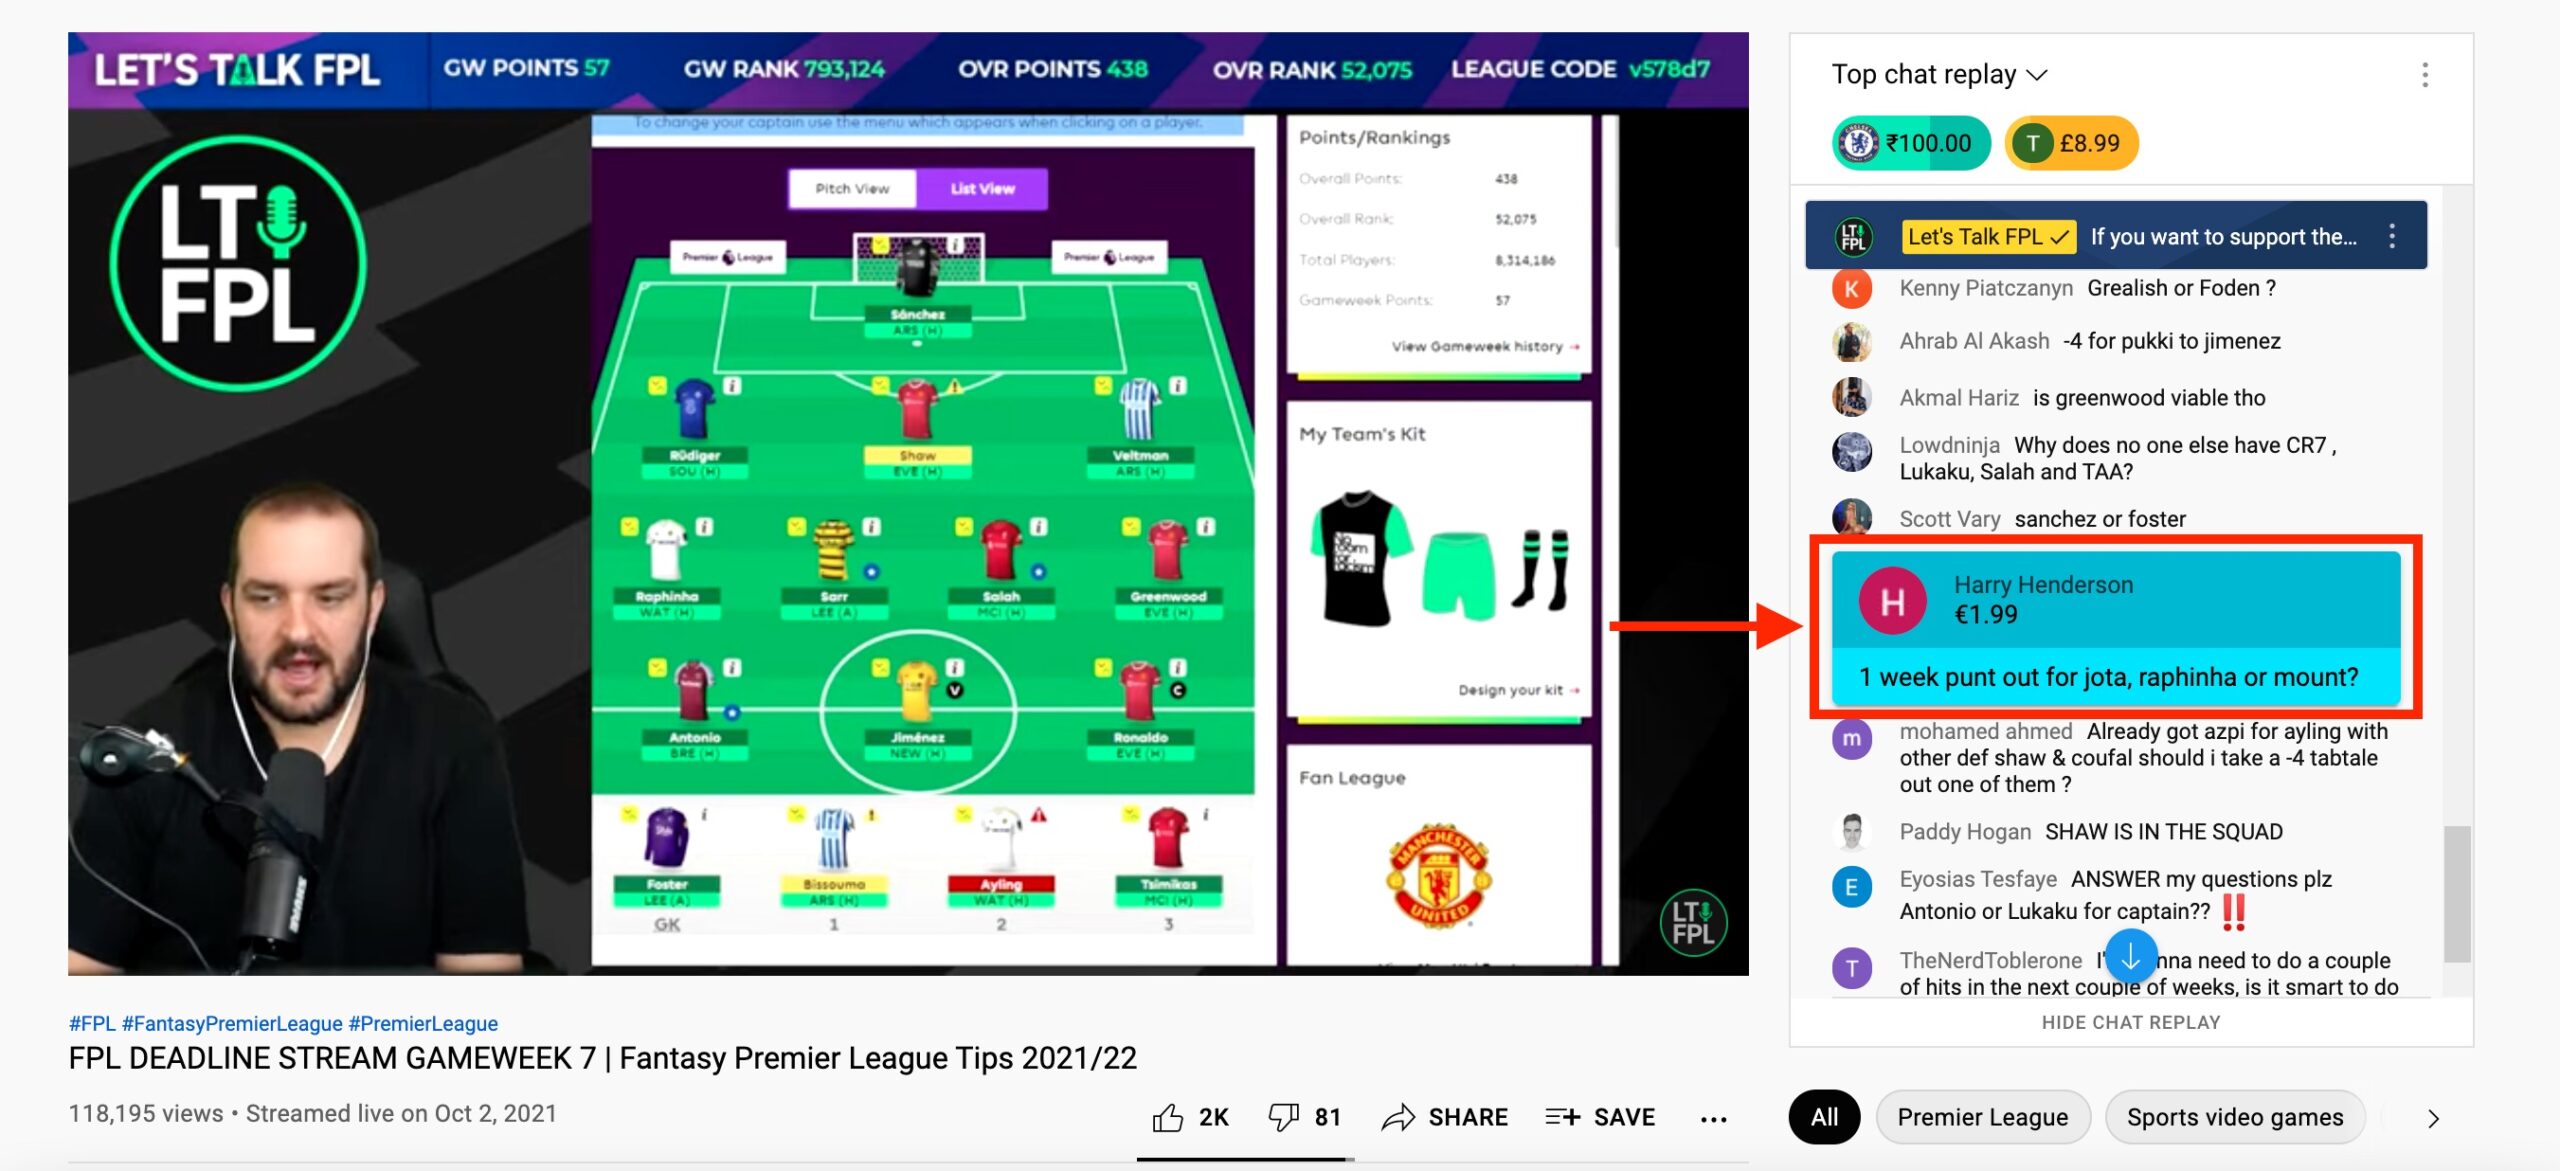
- Super Stickers: Similar to Super Chats, Super Stickers are exclusive stickers users can purchase and share within the livestream chat feed to better express themselves. You can activate or deactivate Super Chats and Super Stickers if your channel or video is eligible.
- Channel Memberships: Subscribers can become members of your channel by paying a monthly fee. Most creators offer members-exclusive perks like custom emojis, members-only live chat and loyalty badges as an incentive to join.
Note: To enable monetization on YouTube, you need to meet the minimum requirements of the YouTube Partner Program (YPP). Once accepted, you’ll get access to exclusive features, like monetization.
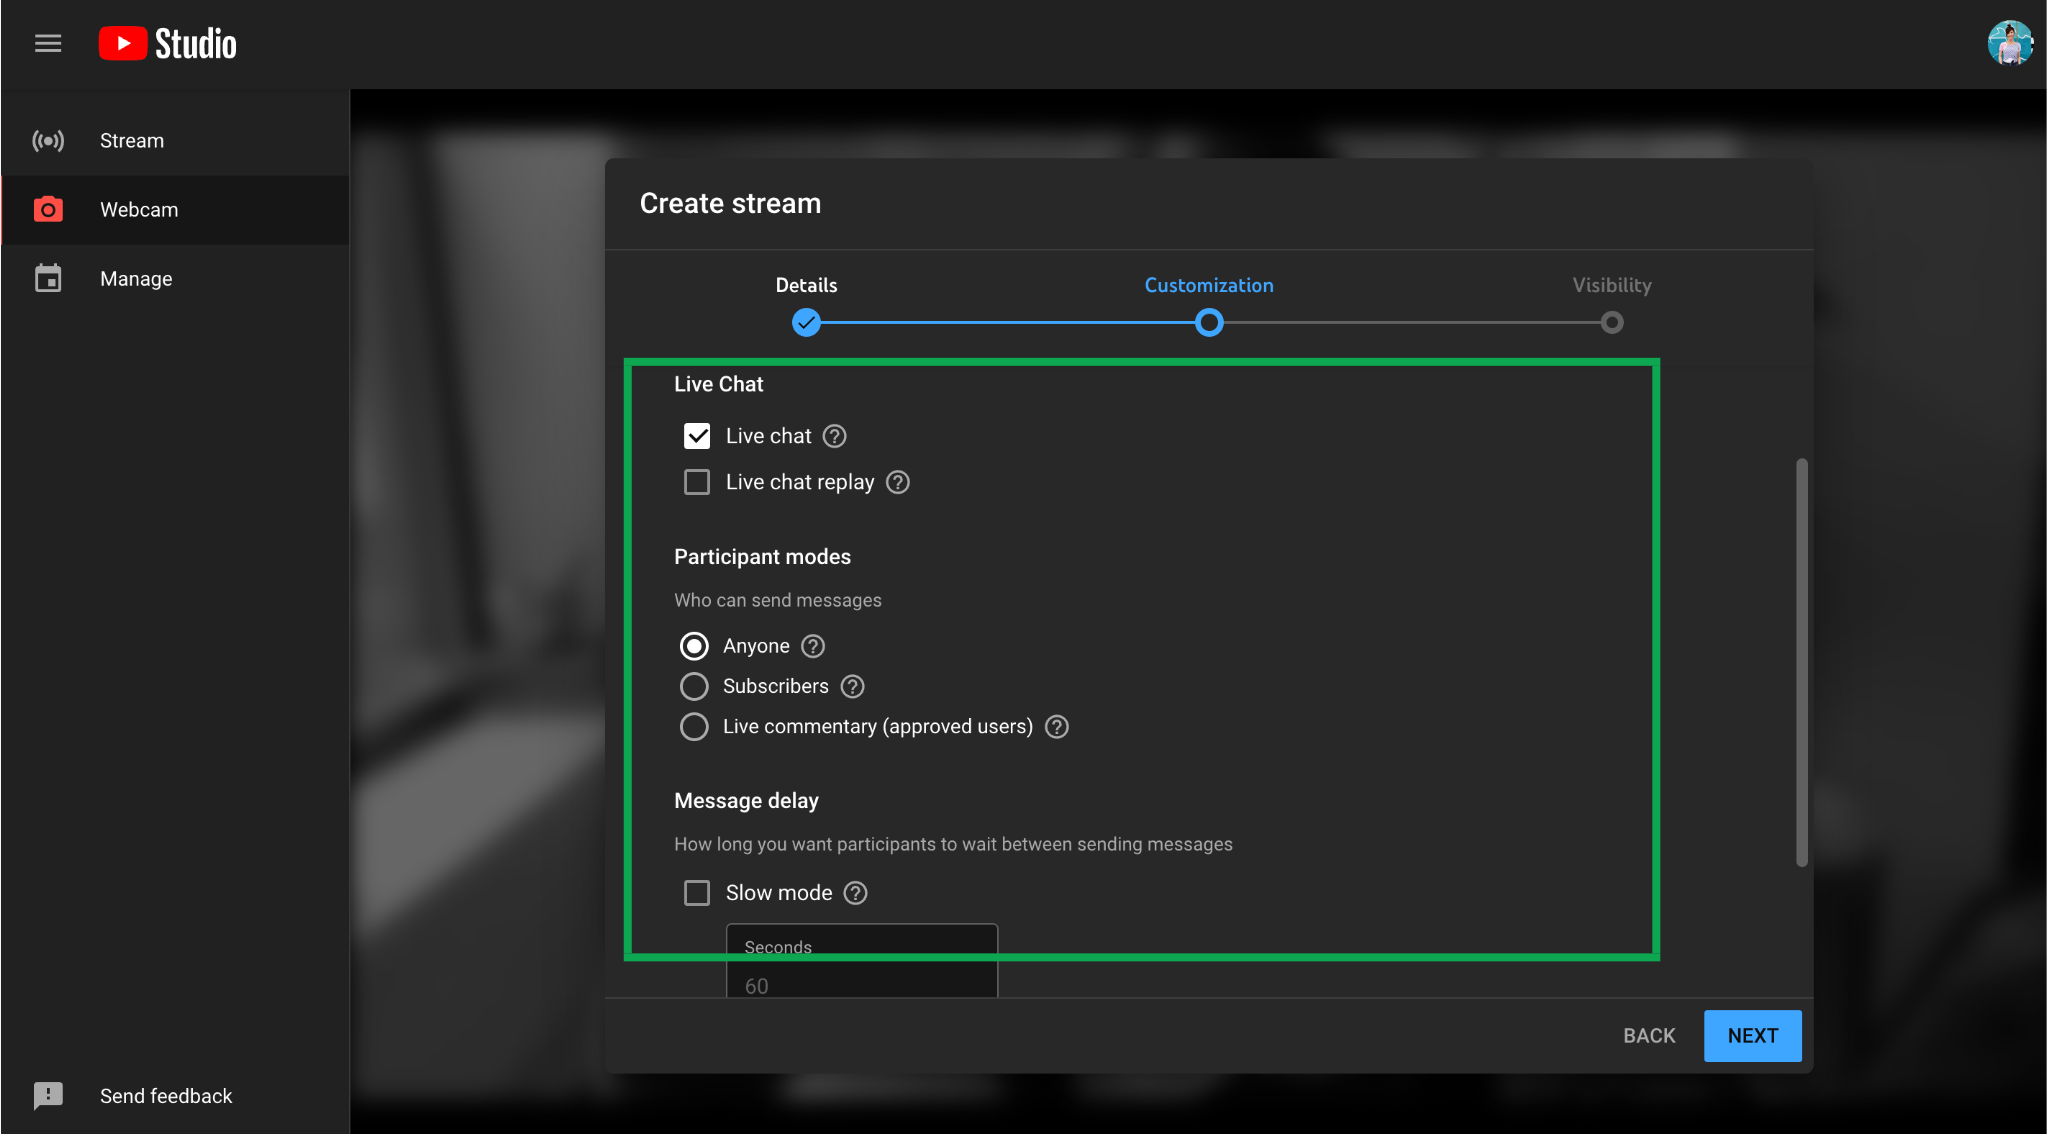
9. Manage live chat & captions
YouTube gives you several options to manage your Live chat to ensure a safe, comfortable environment for all viewers.
Some Live chat features include:
- Turn Live chat on or off
- Make your Live chat subscriber-only or members-only
- Review or block chat messages with certain words
- Assign moderators to respond to or remove messages
- Turn on “Slow Mode” to restrict the timing between chats
You can also choose whether or not to display a live chat replay alongside your video after your livestream has ended so people can view the conversation.
Another useful feature is adding captions—visual displays of the audio content in your videos. It’s recommended to have live captioning to your videos for users who prefer to listen without sound, but more importantly to be more inclusive of a wider audience.
You can either take advantage of automatic captioning, embed captions in your video or send them to YouTube through supported software.
How to get YouTube Live ideas
Now that you know how to set up a YouTube livestream, it’s time for the fun part: brainstorming what you want to stream.
There are dozens of ways to show up on YouTube Live. Here are just a few ideas:
- Q&A with you and your team
- Q&A with an external guest
- Interviews
- Office or studio tours
- Behind-the-scenes features
- Courses or how-tos
- Live gaming sessions
- Relaxing livestreams
- Music sessions
- Product demos
Start by exploring YouTube. What kinds of livestreams are channels similar to yours creating? What interests your audience, and can you adapt these topics into live events?
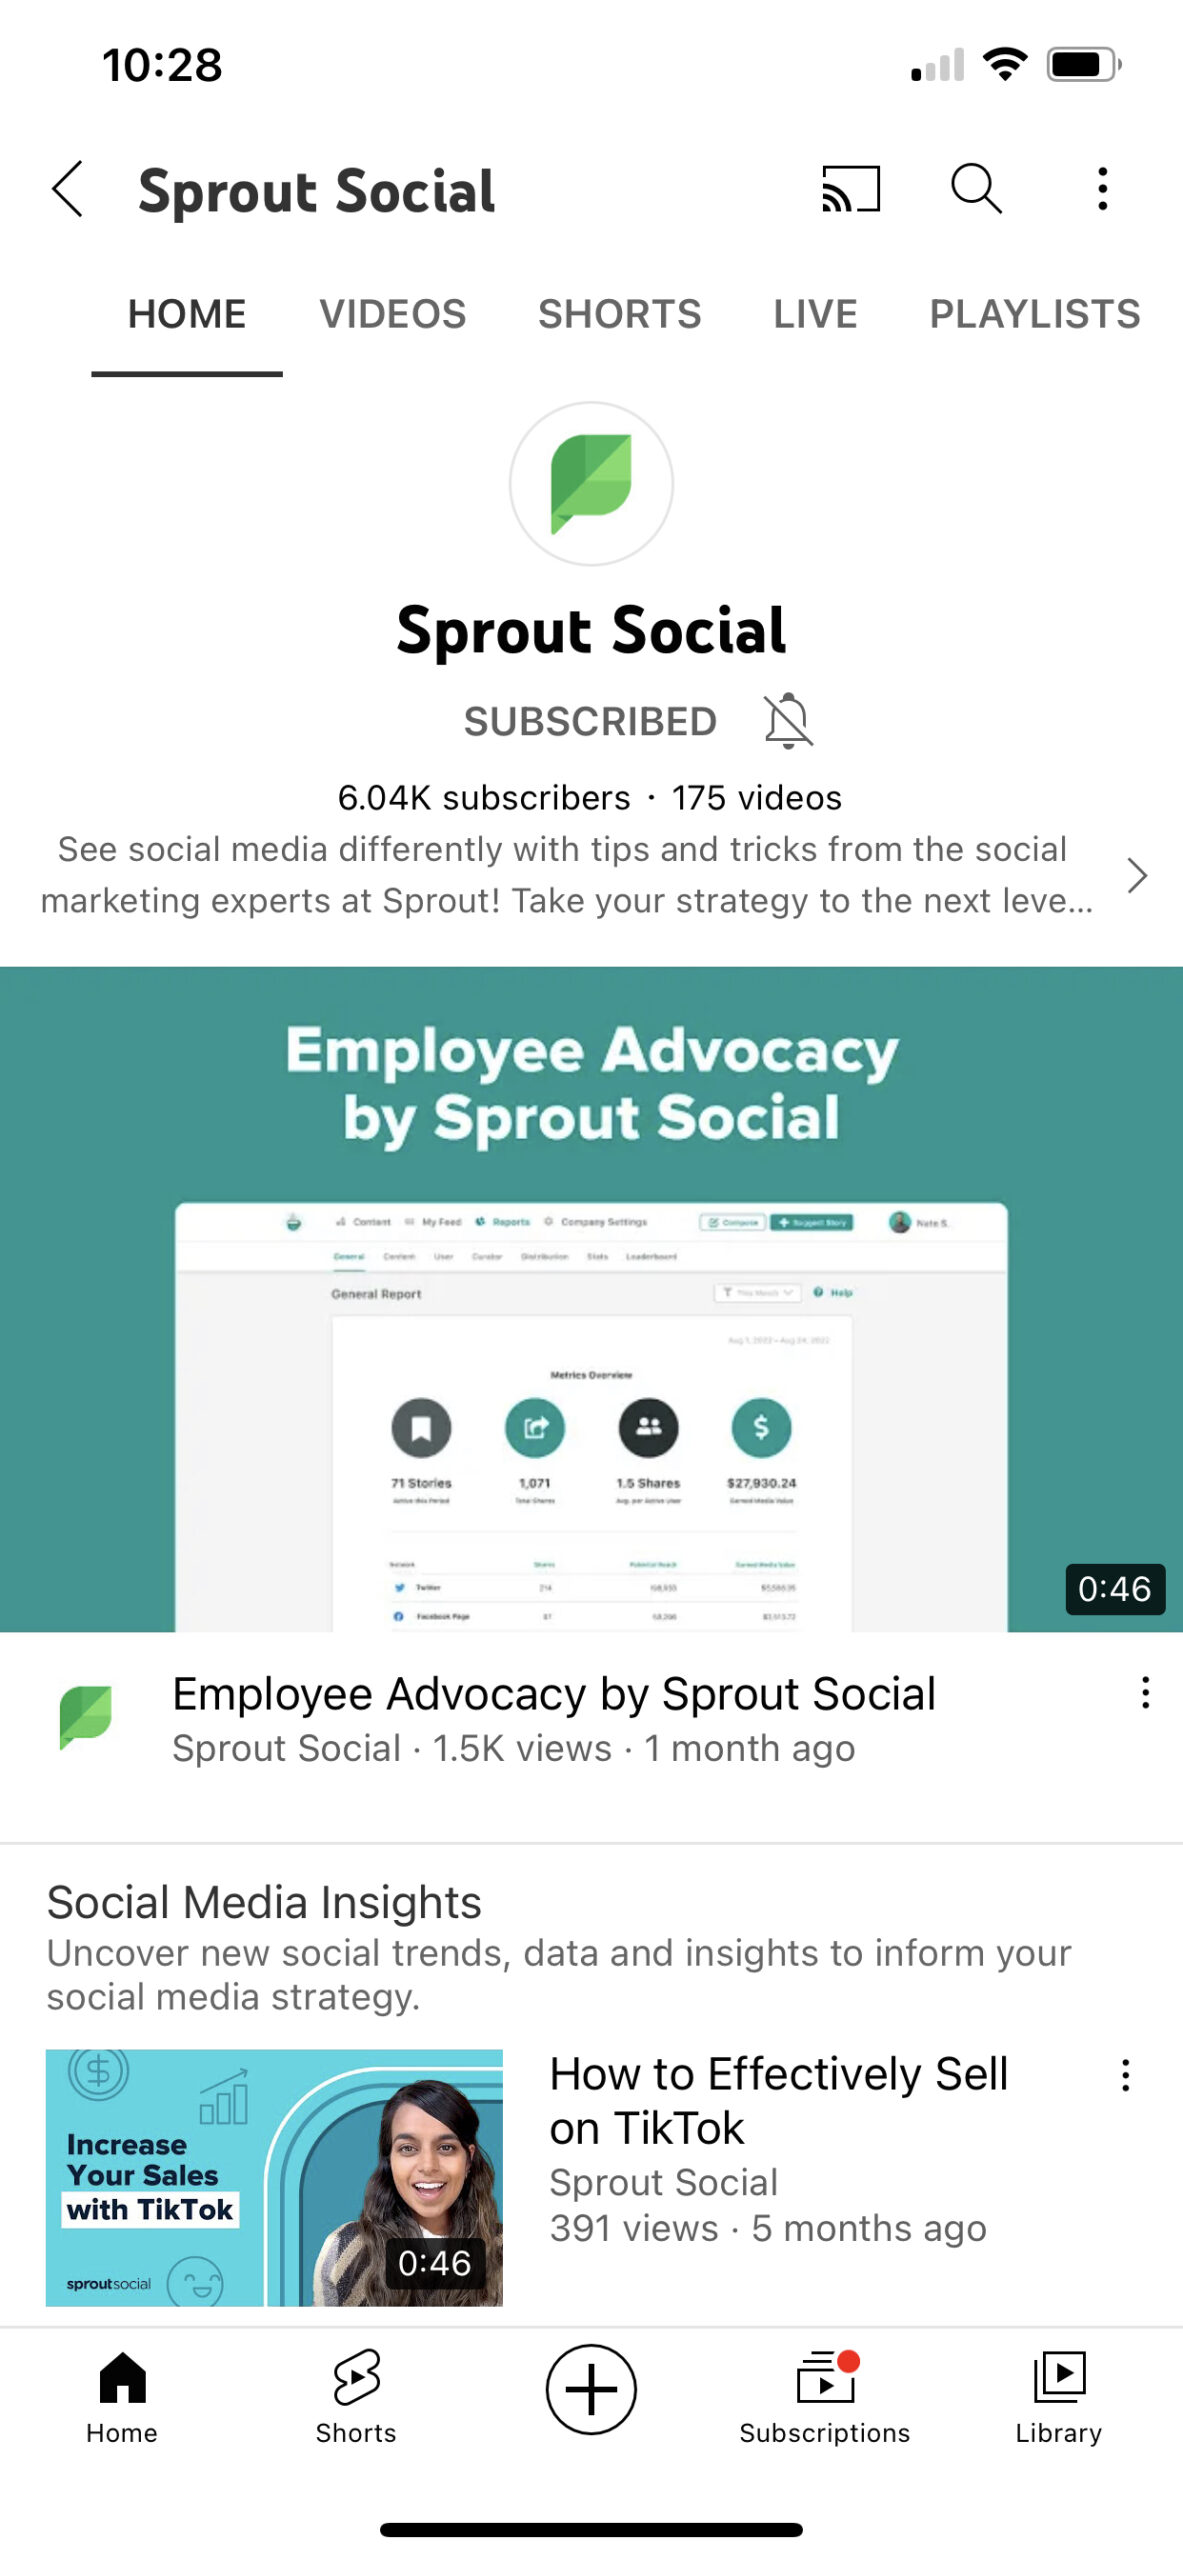
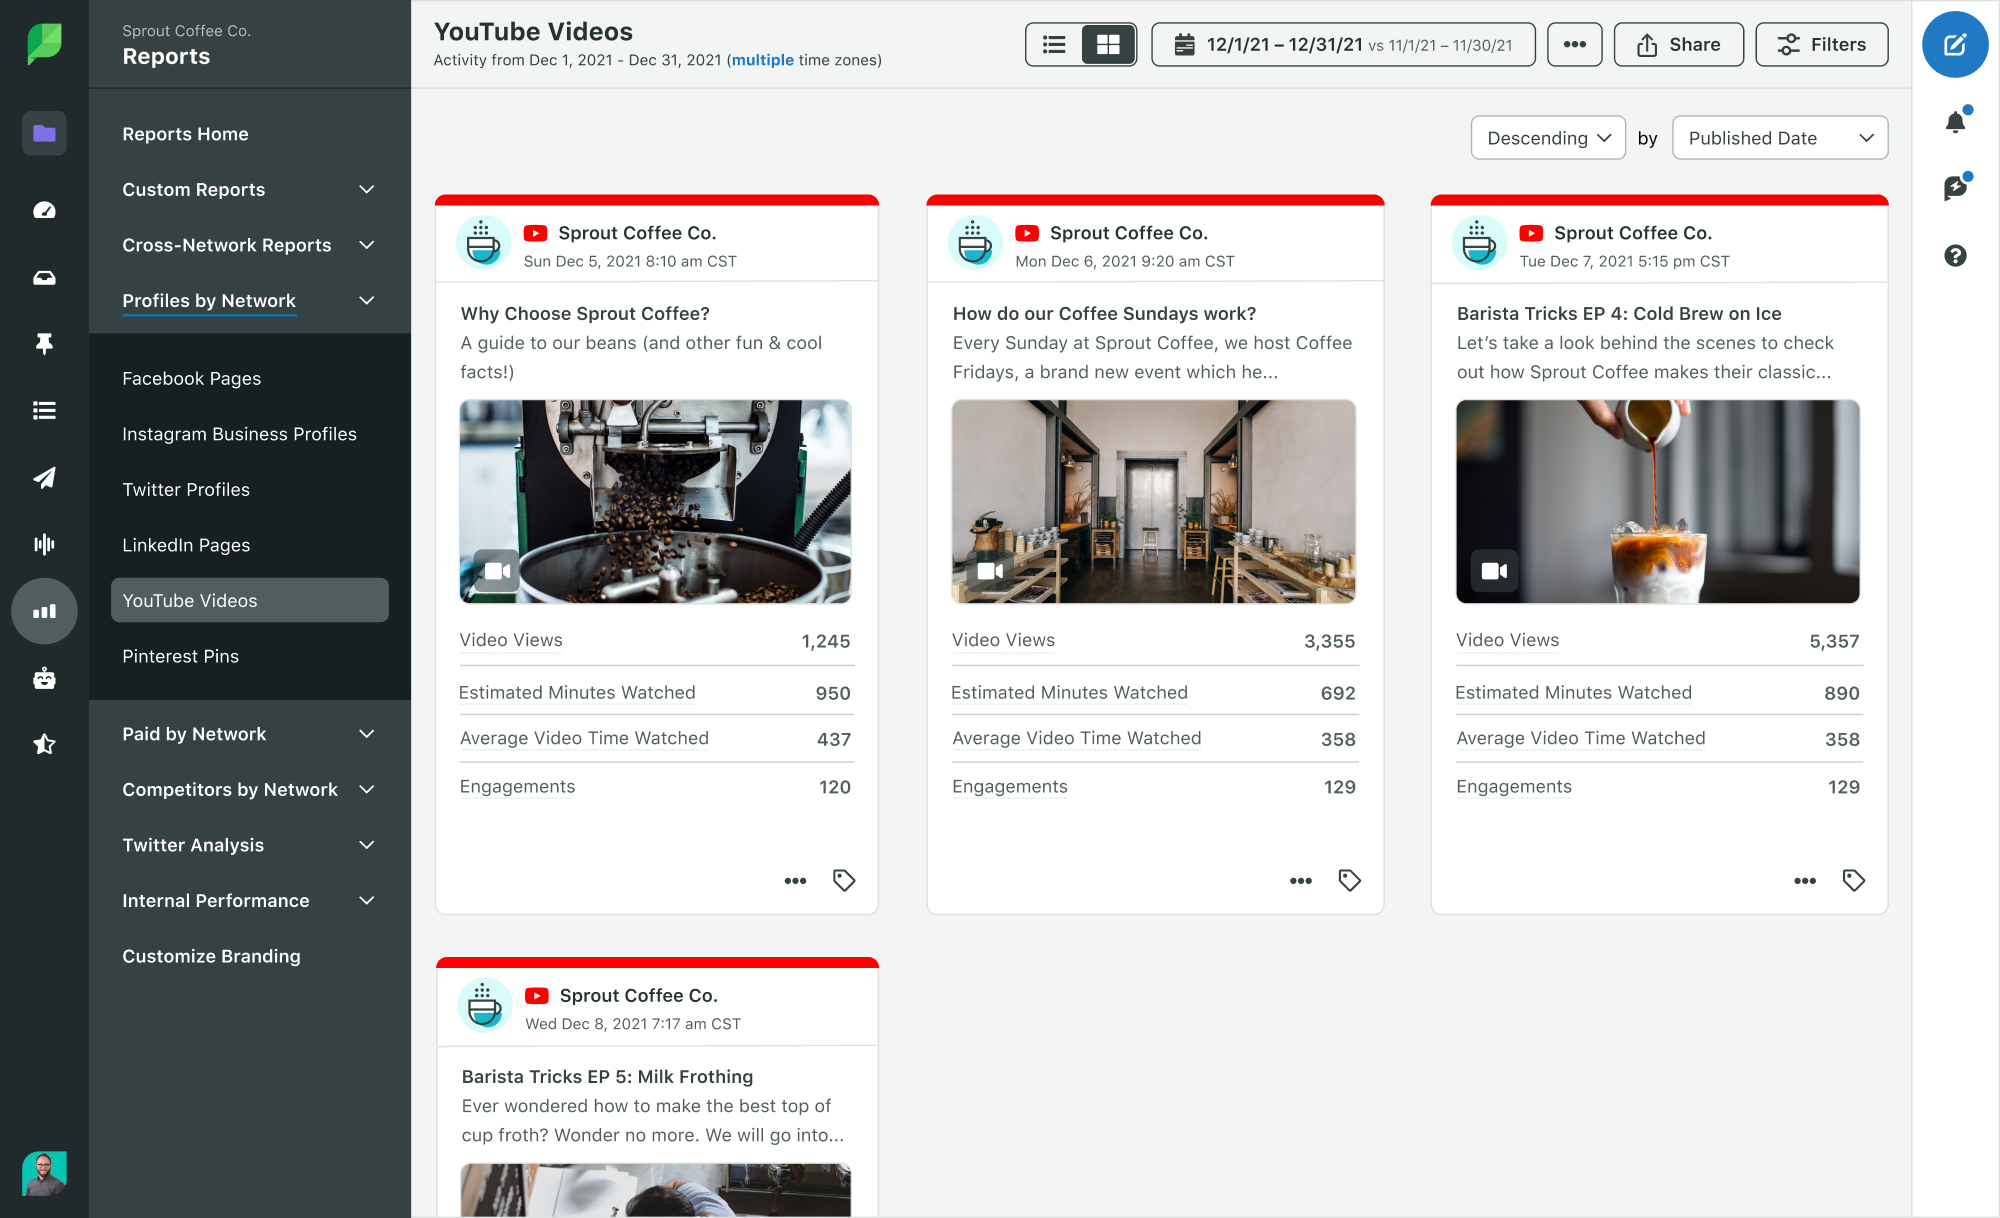
If you’ve uploaded videos before, look at your YouTube video data for inspiration. Use your top-performing video topics to develop live content topics, ideas and formats. This is especially easy in Sprout’s YouTube Video Performance report, where you can sort your videos by performance and compare data points like views, estimated minutes watched and engagement side by side.
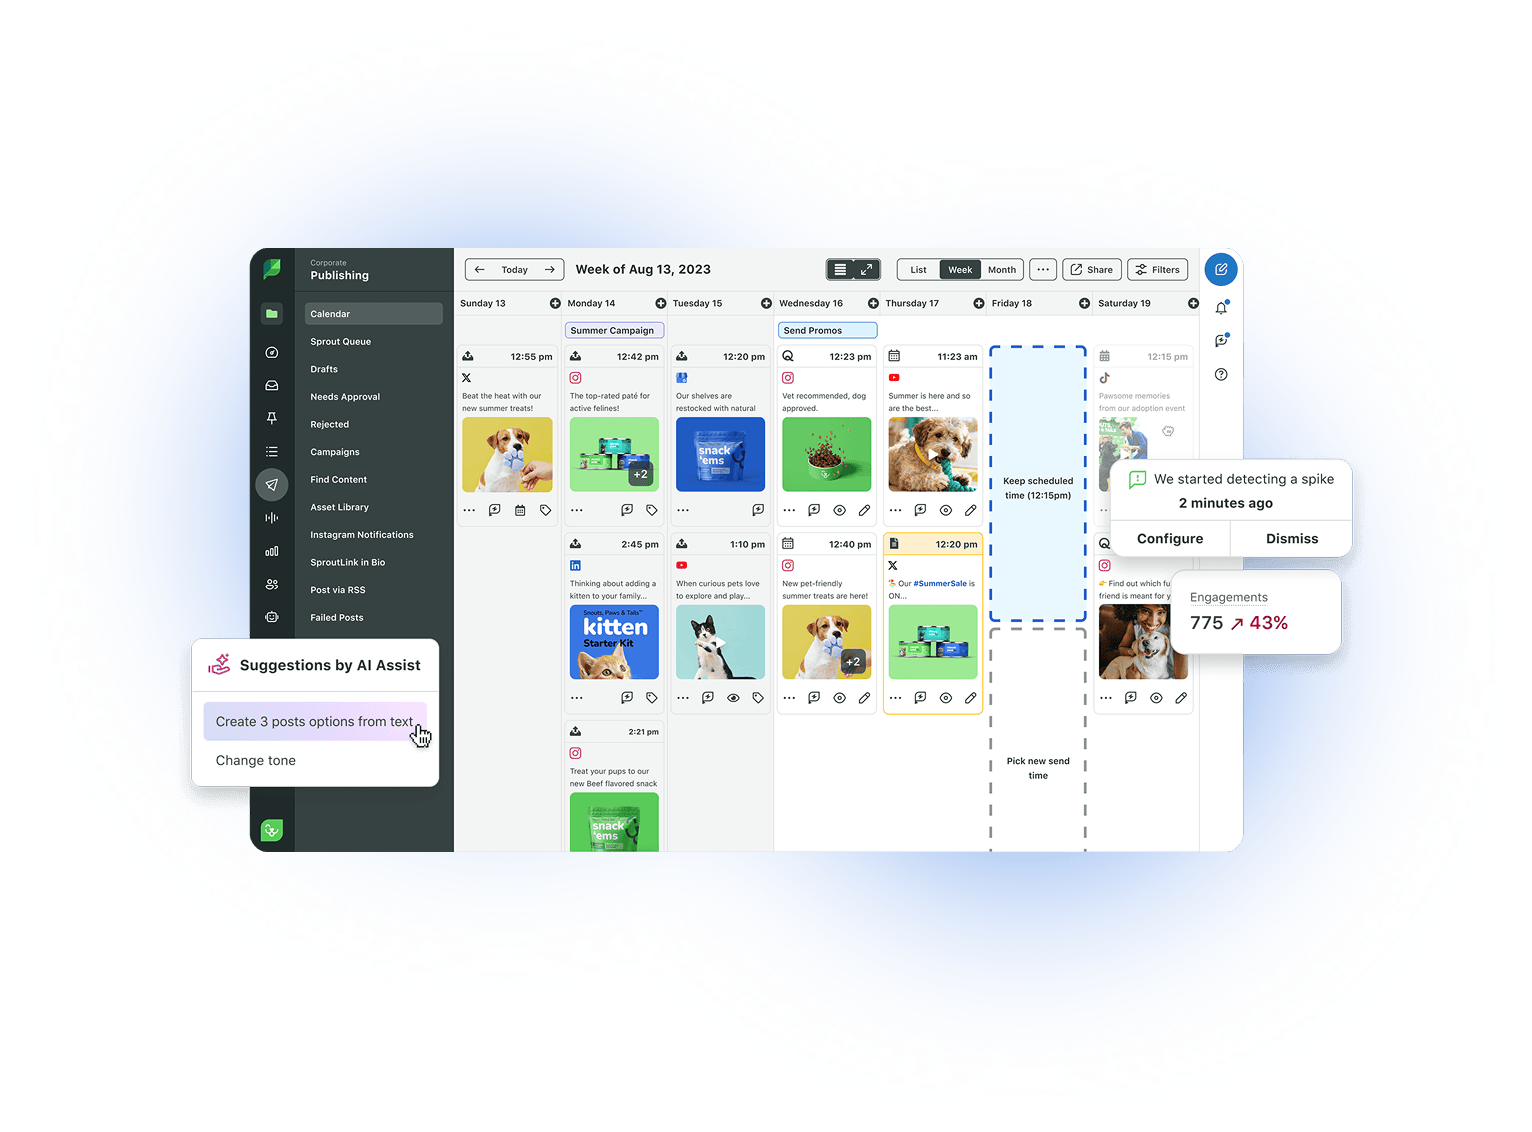
Additionally, using a social listening tool, like Sprout’s, to search for topics and how engaging they are is a powerful way to come up with ideas.
YouTube Live best practices and streaming tips
You’re ready to go live and engage with your audience! Here are some final YouTube streaming tips to ensure your livestream is a success.
Check your network connection
It’s important to have a reliable internet connection to prevent a broken stream. So, run a speed test before you go live to avoid any issues.
Test your equipment
Make sure your webcam, microphone and any other equipment is fully functional before you go live to avoid any embarrassing moments.
Promote your livestream
Schedule a premiere, upload a trailer and share your link on social to spread the word about your livestream. You can also promote your YouTube channel to attract more visitors to your livestream.
Write a script
Going Live can be nerve-wracking for even the most confident speakers. To avoid making clumsy mistakes that you’d rather keep off-air, have some notes ready or a script prepared for your stream.
Stay safe
Be careful about sharing personal information during livestreams. Take advantage of YouTube’s safety and moderation features to ensure a safe and comfortable environment for your audience.
Use YouTube Live to deliver interactive audience experiences
Livestreaming is a unique way to engage with your audience on a personal level—regardless of where they are located. From hosting live events to workshops to Q&A sessions to product launches, you can use YouTube Live to grow your business in tons of different ways.
If you’re ready to level up your social video strategy, try Sprout’s YouTube management tools free for 30 days.
Share