Video accessibility: How to add YouTube subtitles to your videos

Written by Chloe West
Published on November 12, 2020
Reading time 6 minutes

When creating and sharing videos, you want to make sure your content can be consumed by as many people as possible. Whether they’re hard of hearing or simply in a setting where they can’t have their volume turned on, viewers should be able to enjoy your videos.
This is why adding subtitles to videos is such an important step when publishing your content on YouTube.
Keep reading to understand why you should incorporate this into your YouTube strategy and how to add subtitles to a video.
Why are YouTube subtitles important
There are many reasons why you should include video subtitles on your YouTube channel. The main reason being adding inclusivity to reach an even wider audience.
Below are a few of the biggest reasons that captioning videos is a good practice.
Improve video accessibility
Over 5% of the world’s population suffers from hearing loss, and they shouldn’t be excluded from consuming your video content. Social media accessibility in general is important to be aware of, in all use cases, not just video.
Adding closed captions to your YouTube videos makes you more inclusive. Whether they’re watching to learn more about your product, service or industry, adding closed captioning expands your audience.
Encourage further comprehension
Not everyone learns the same way. So while many people are satisfied watching and listening to a video, others prefer to have text that they can follow along.
Using closed captions are also a great way to assist ESL learners as well. This allows non-native English speakers to read captions while listening to videos, as they learn the language or keep up with those who are speaking too quickly.
However, even native learners still appreciate the ability to turn on subtitles as many people still enjoy watching TV with closed captions.
Boost SEO
YouTube and Google both index the subtitles and closed captioning text. This will help give search engines even more context about your video apart from keywords in your video title, description and tags. This helps to boost your YouTube SEO and potentially rank for even more keywords.
It can also strengthen your already optimized video even further for the focus keyword(s) you’re already targeting by including it within your closed captions. It needs to be noted though that closed captions can be indexed, not open captions. Since open captions are encoded within the video file, they cannot be indexed by search engines.
Improve the overall user experience
Many people don’t want to or aren’t in a position where they can watch your video with sound. In fact, 85% of Facebook videos are watched on mute.
By adding subtitles to your YouTube videos, you’re giving your audience the capability to browse your channel on mute without making a mental note – then later forgetting – to watch your video when they can turn sound on.
How to add YouTube subtitles to your video
We’ve covered a few reasons why you should add subtitles to your YouTube videos. Now let’s go over the how-to so that you can immediately start implementing this tactic.
Step #1: Log into your YouTube Studio
The first step is to head over to YouTube and log into your YouTube Studio dashboard. This should come as no surprise since this is your main dashboard for making any changes to your videos or viewing any sort of channel analytics.
Step #2: Click the Subtitles tab in the left sidebar navigation
Once in your YouTube dashboard, click the Subtitles tab in the left sidebar to access this feature on your YouTube video.
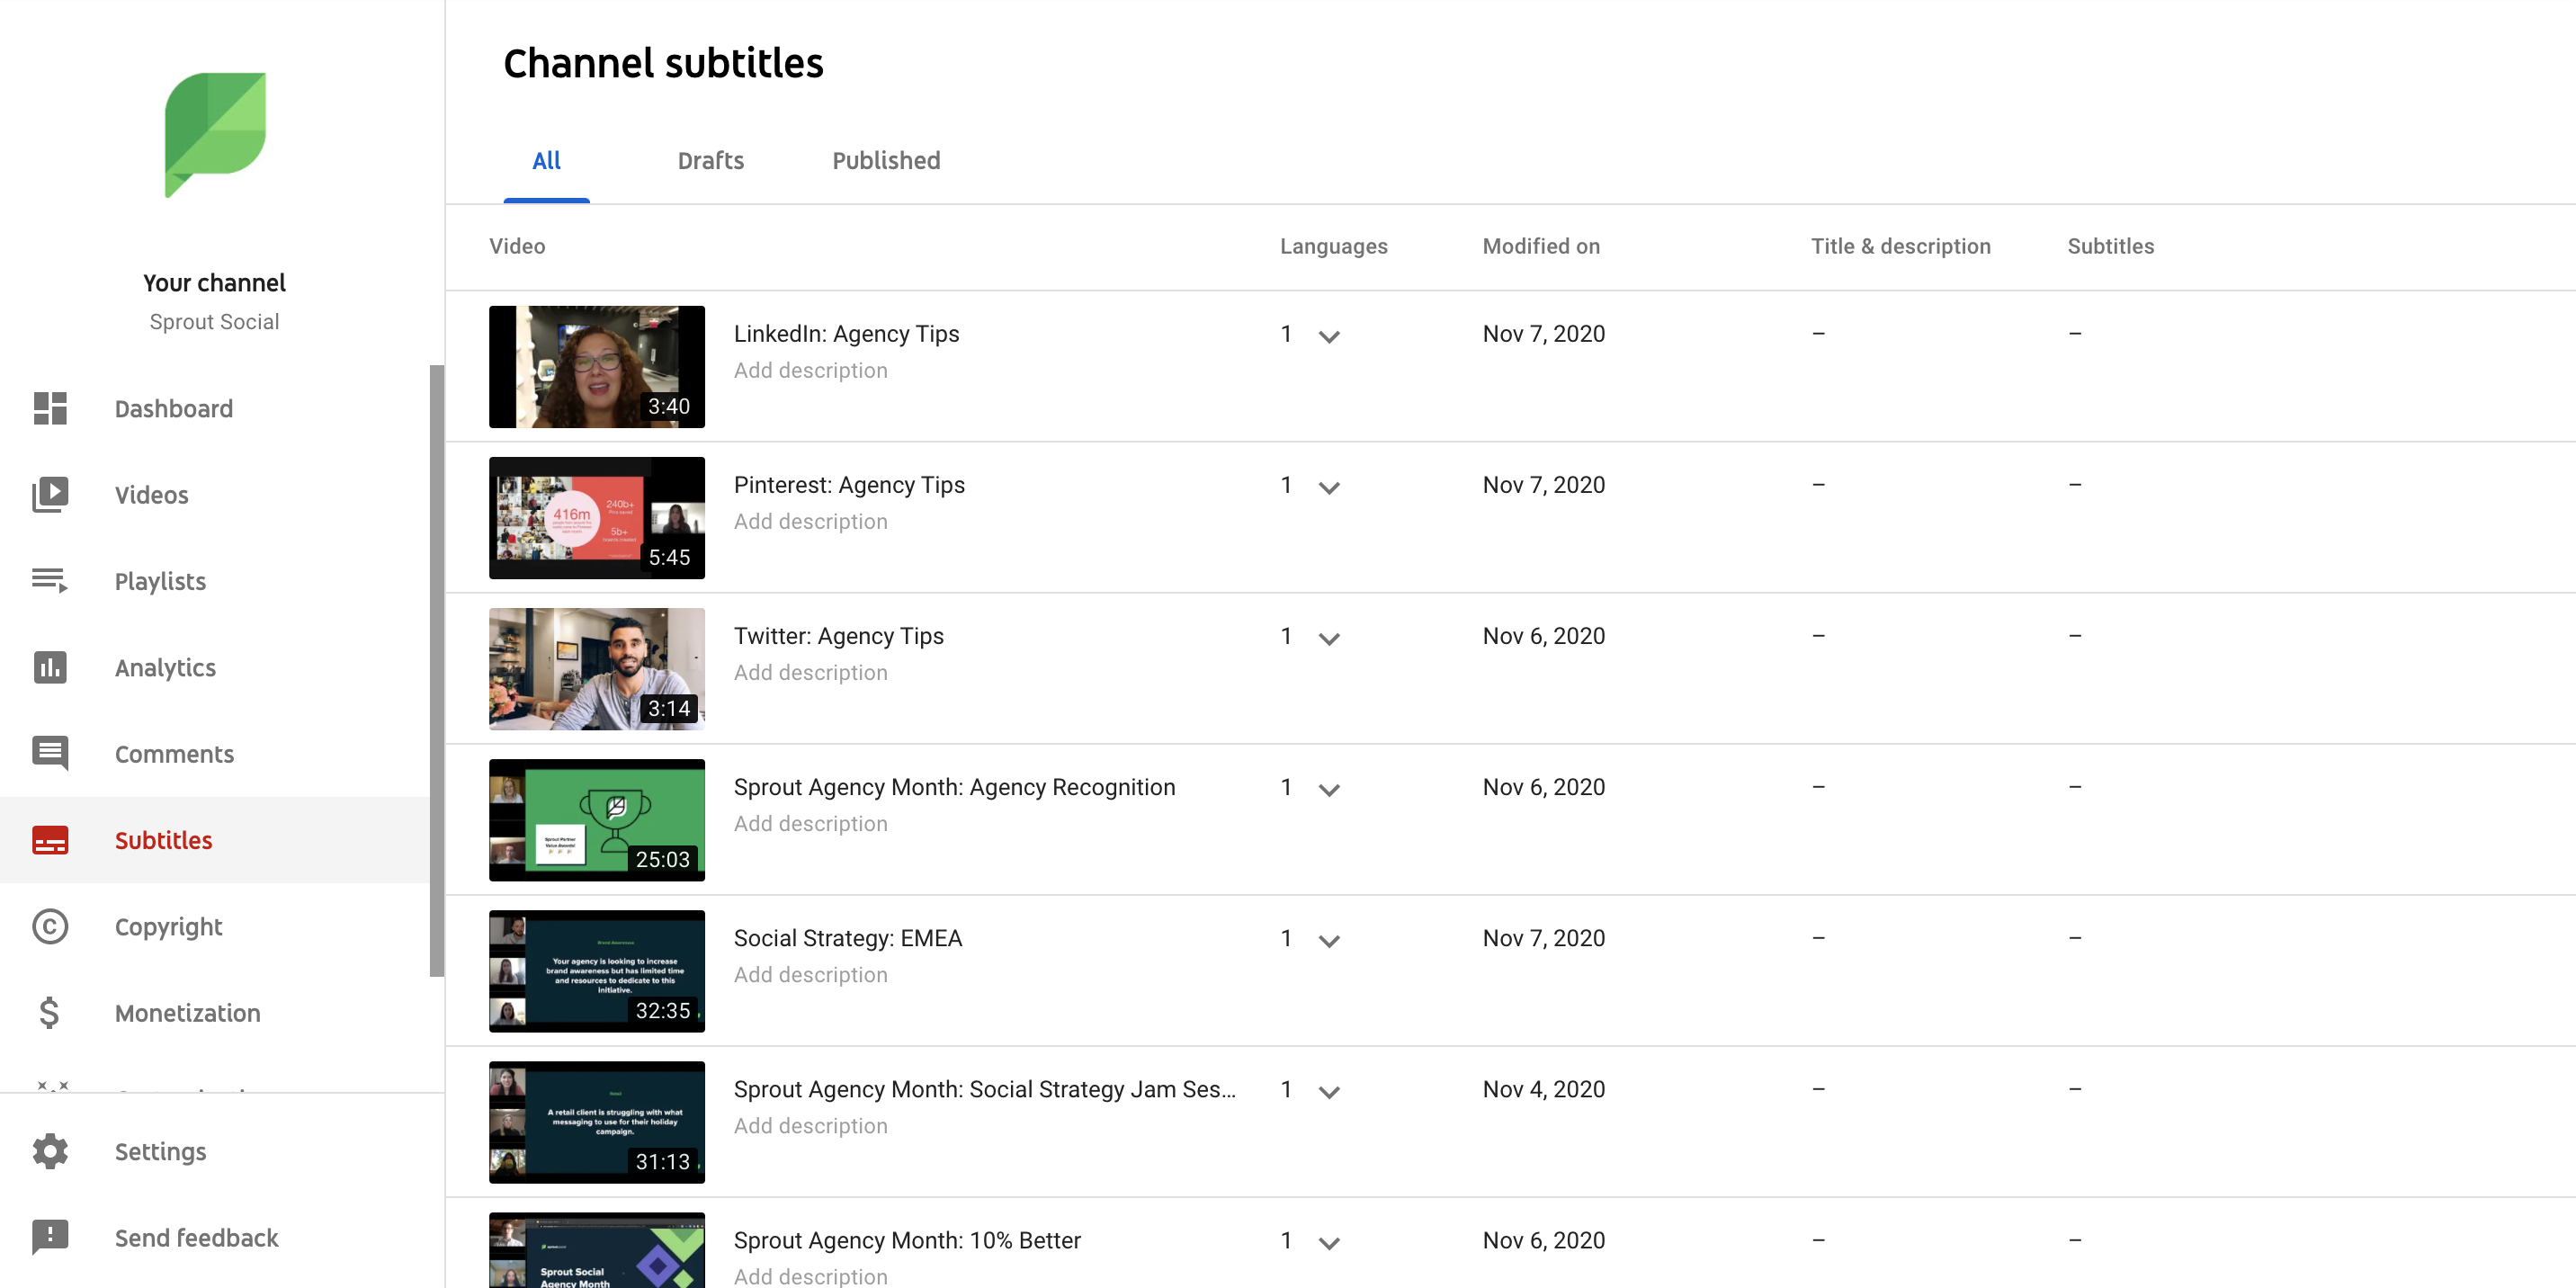
Step #3: Select the video you want to add subtitles to
Here, you’ll get a full view of all your uploaded videos. Once you find the video you want to update subtitles to, click on the pencil icon to edit it.
Step #4: Set your language
The first thing you need to do is set the default language for your video. While you might eventually add in subtitles in various languages, the default language should be based on the language mostly spoken in the video.
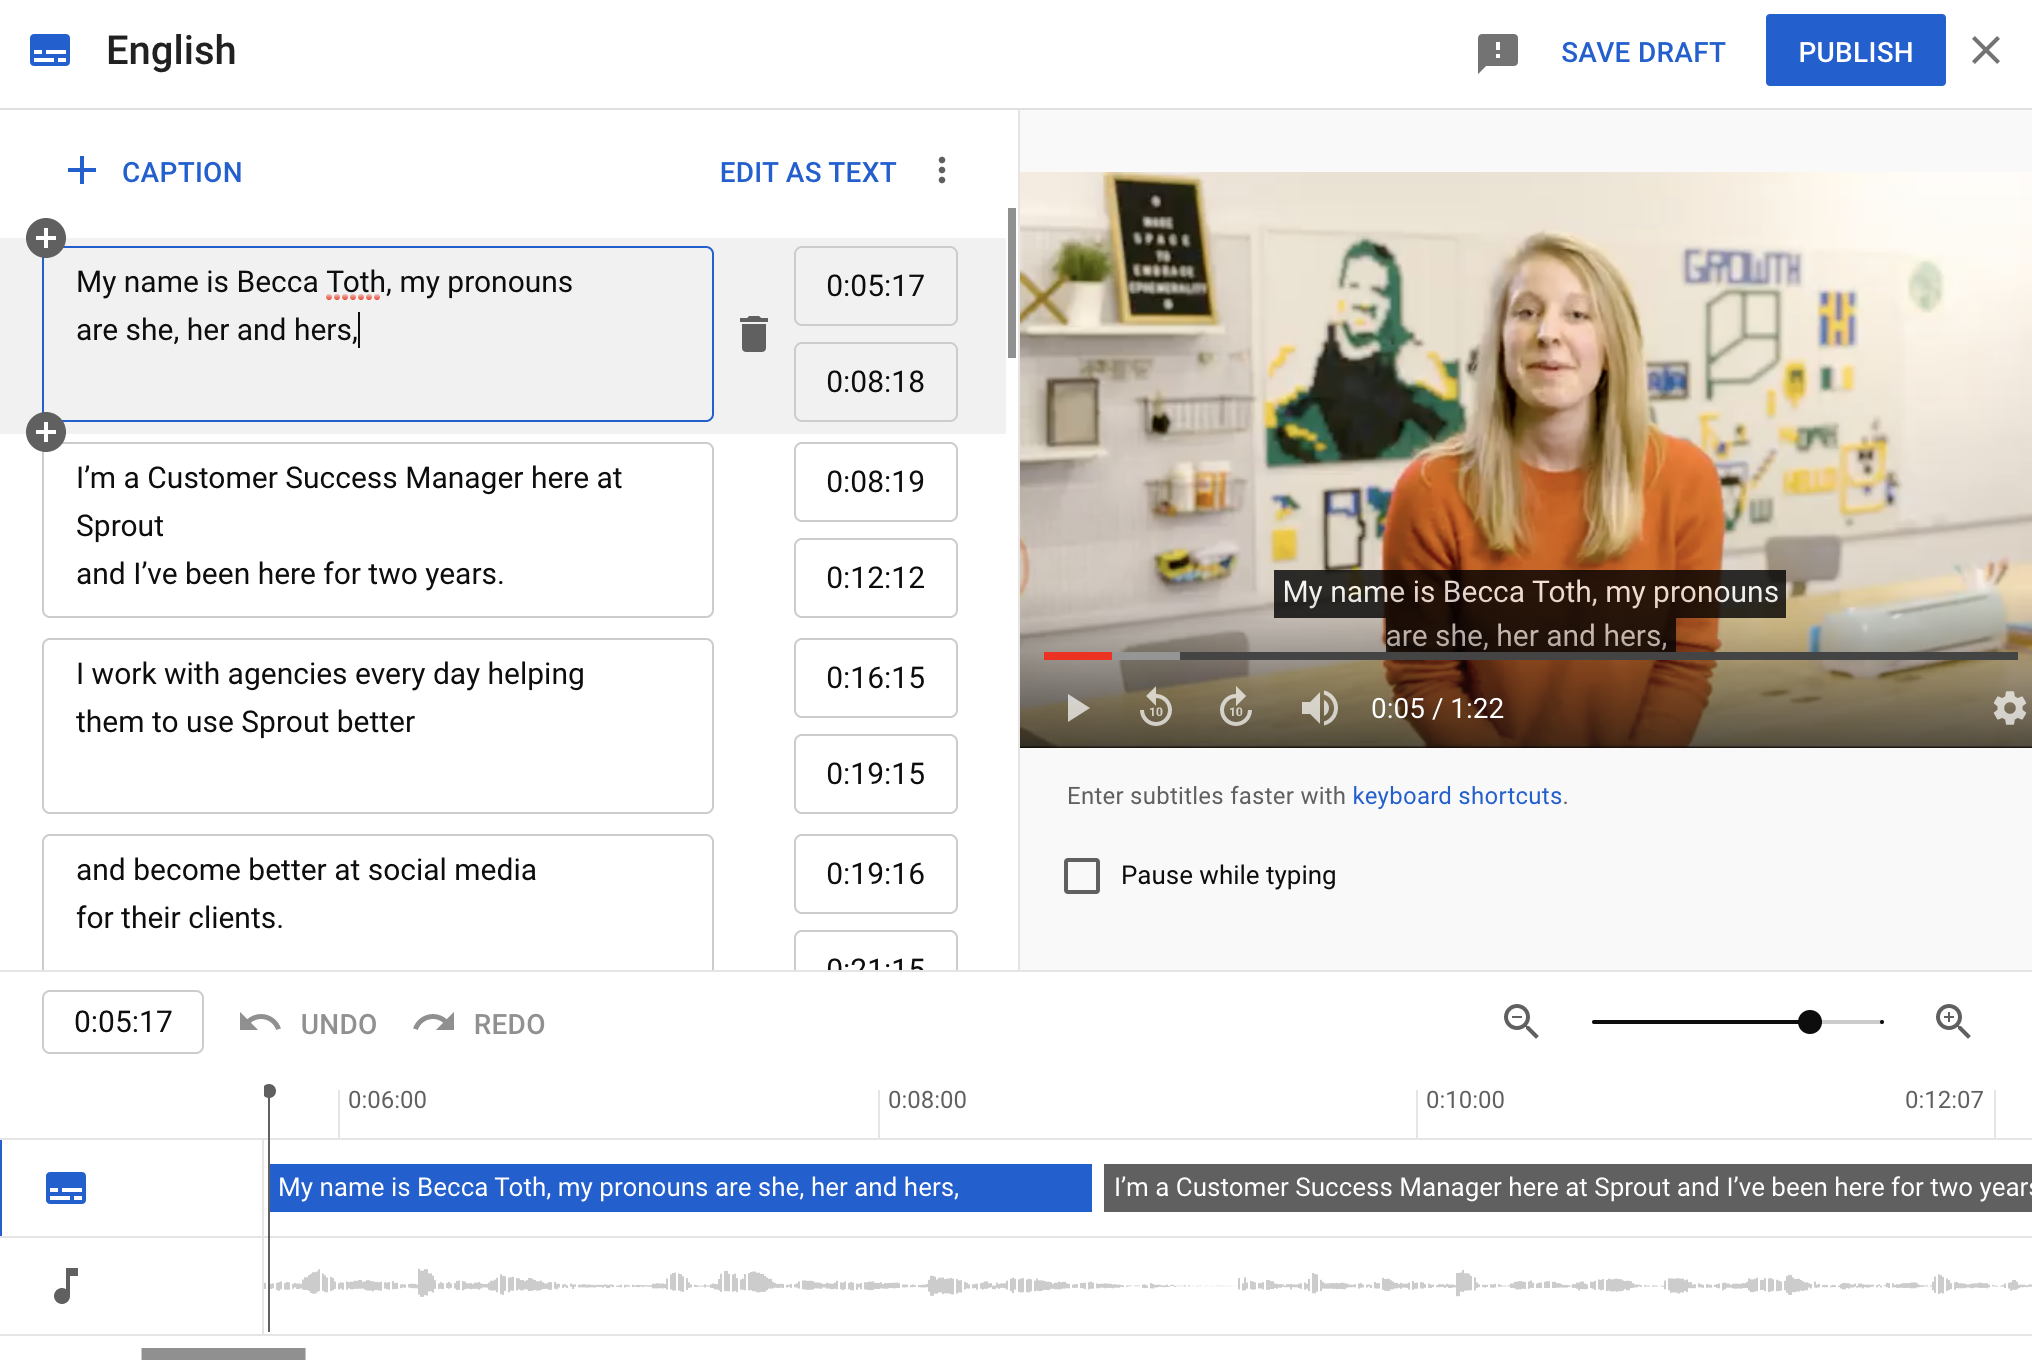
Step #5: Edit the subtitles on your video
Once you confirm your video’s language, you’ll be taken to a page that shows automated subtitles added in your language. Click the Duplicate and Edit button so you can correct any errors made in the automatically generated subtitles.
You’ll be taken to a new screen where you’ll be able to edit the auto-generated subtitles.
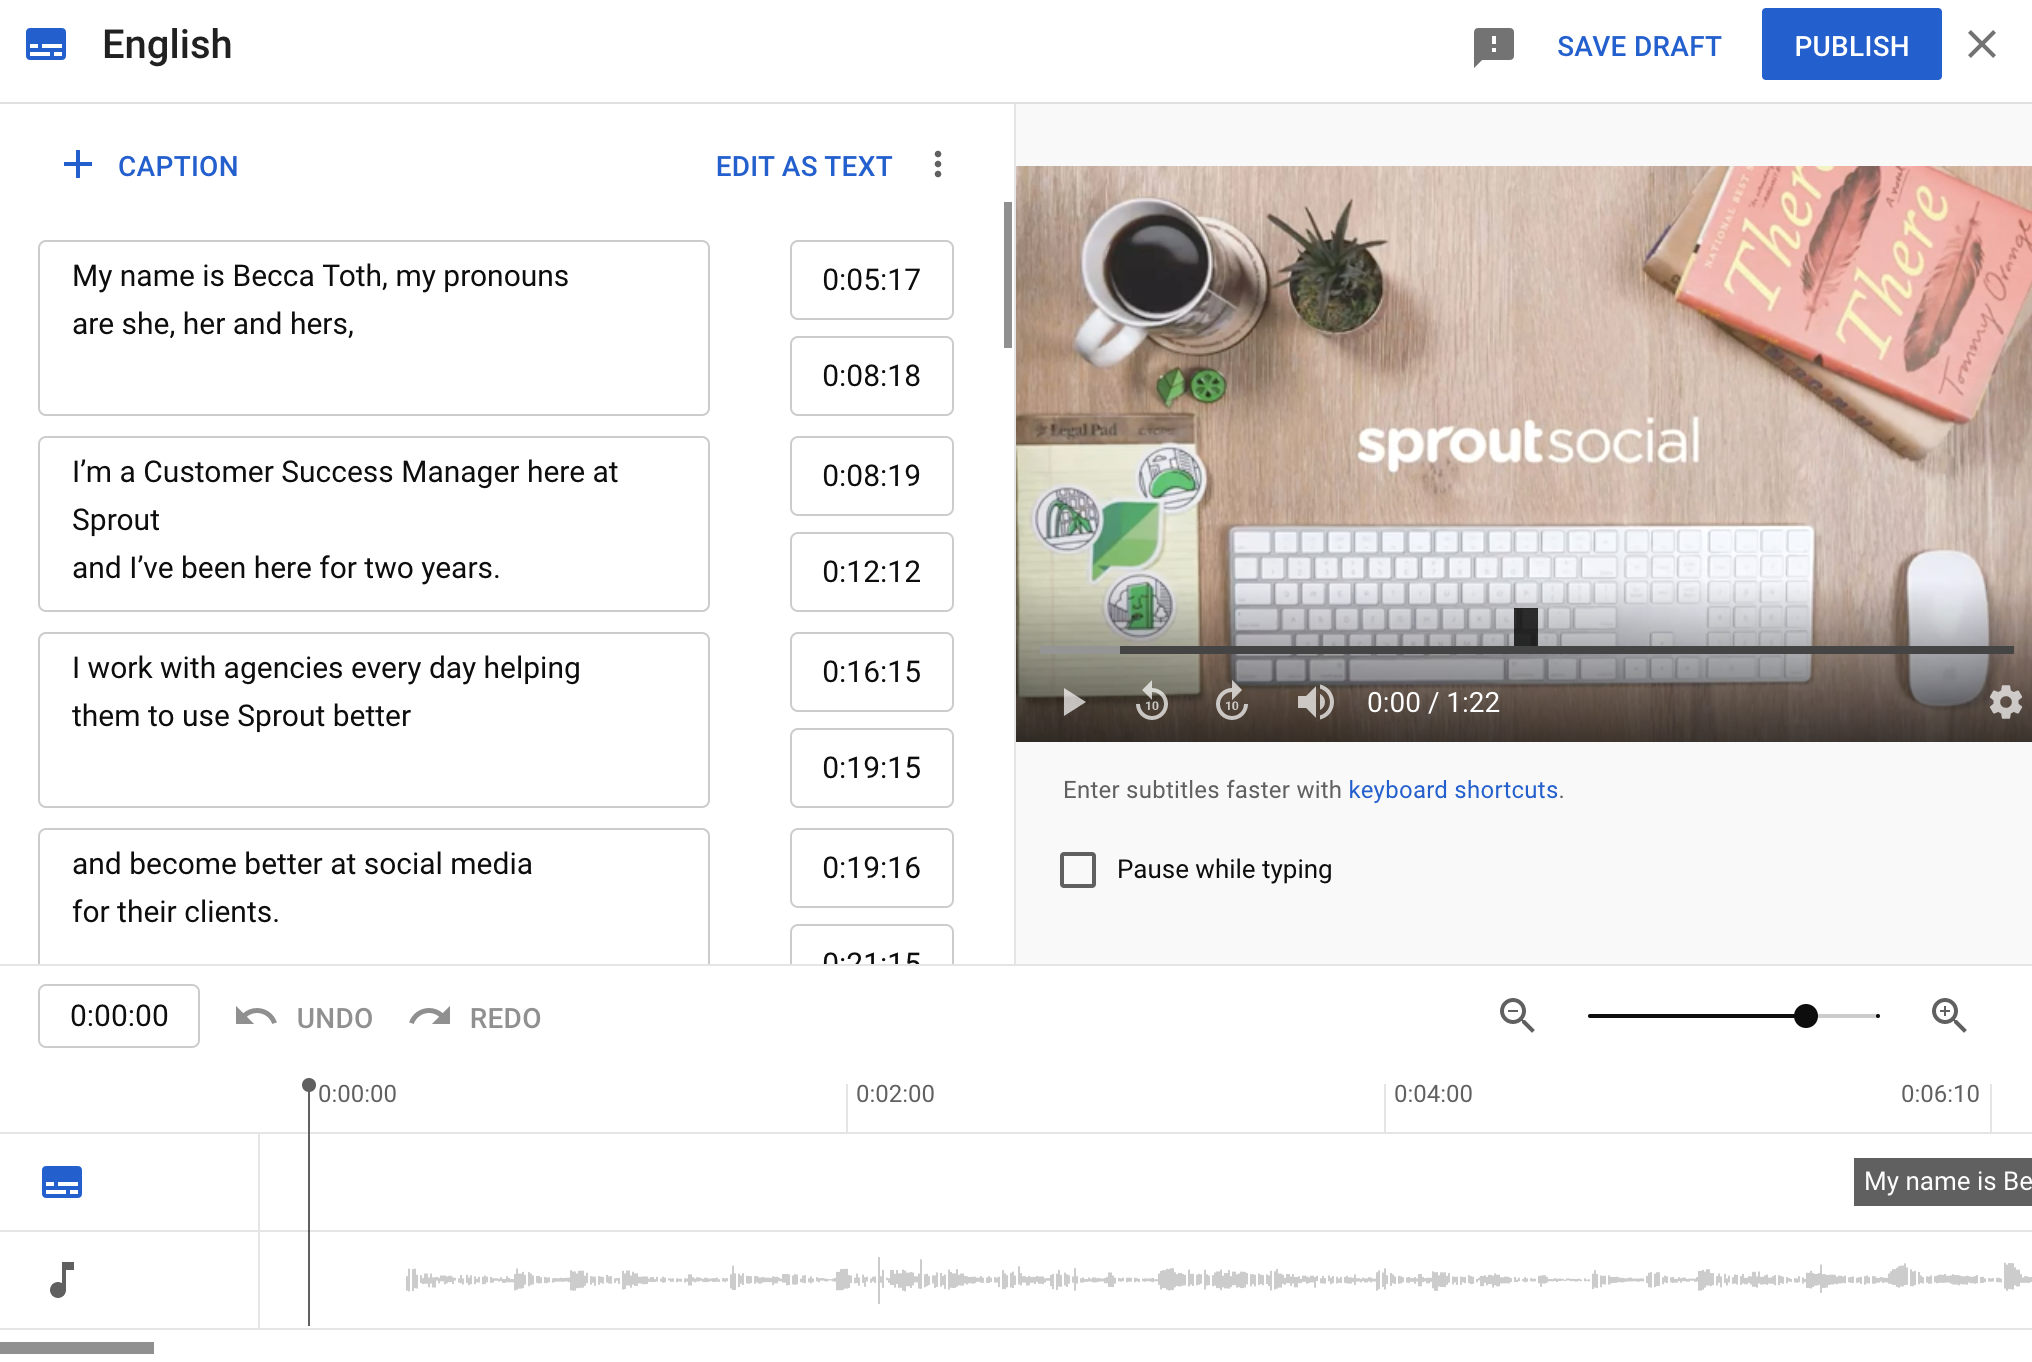
While the auto-subtitles are a great starting point for you, they’re likely not accurate. So go in and add punctuation and adjust any inaccuracies you may notice. This would also be the time to adjust timestamps on your subtitles as well.
Step #6: Publish the subtitles
Once you’re satisfied with your subtitles, save and publish them, then go view your video to ensure they appear properly.
Head back to this section anytime you want to add additional languages to your video subtitles.
Tools for adding YouTube subtitles
If you’re looking for a faster way to transcribe your YouTube video to add subtitles – not that we blame you – there are a variety of tools you can use.
Below are some tools that can help you easily create and add subtitles to a video.
YouTube automated subtitles
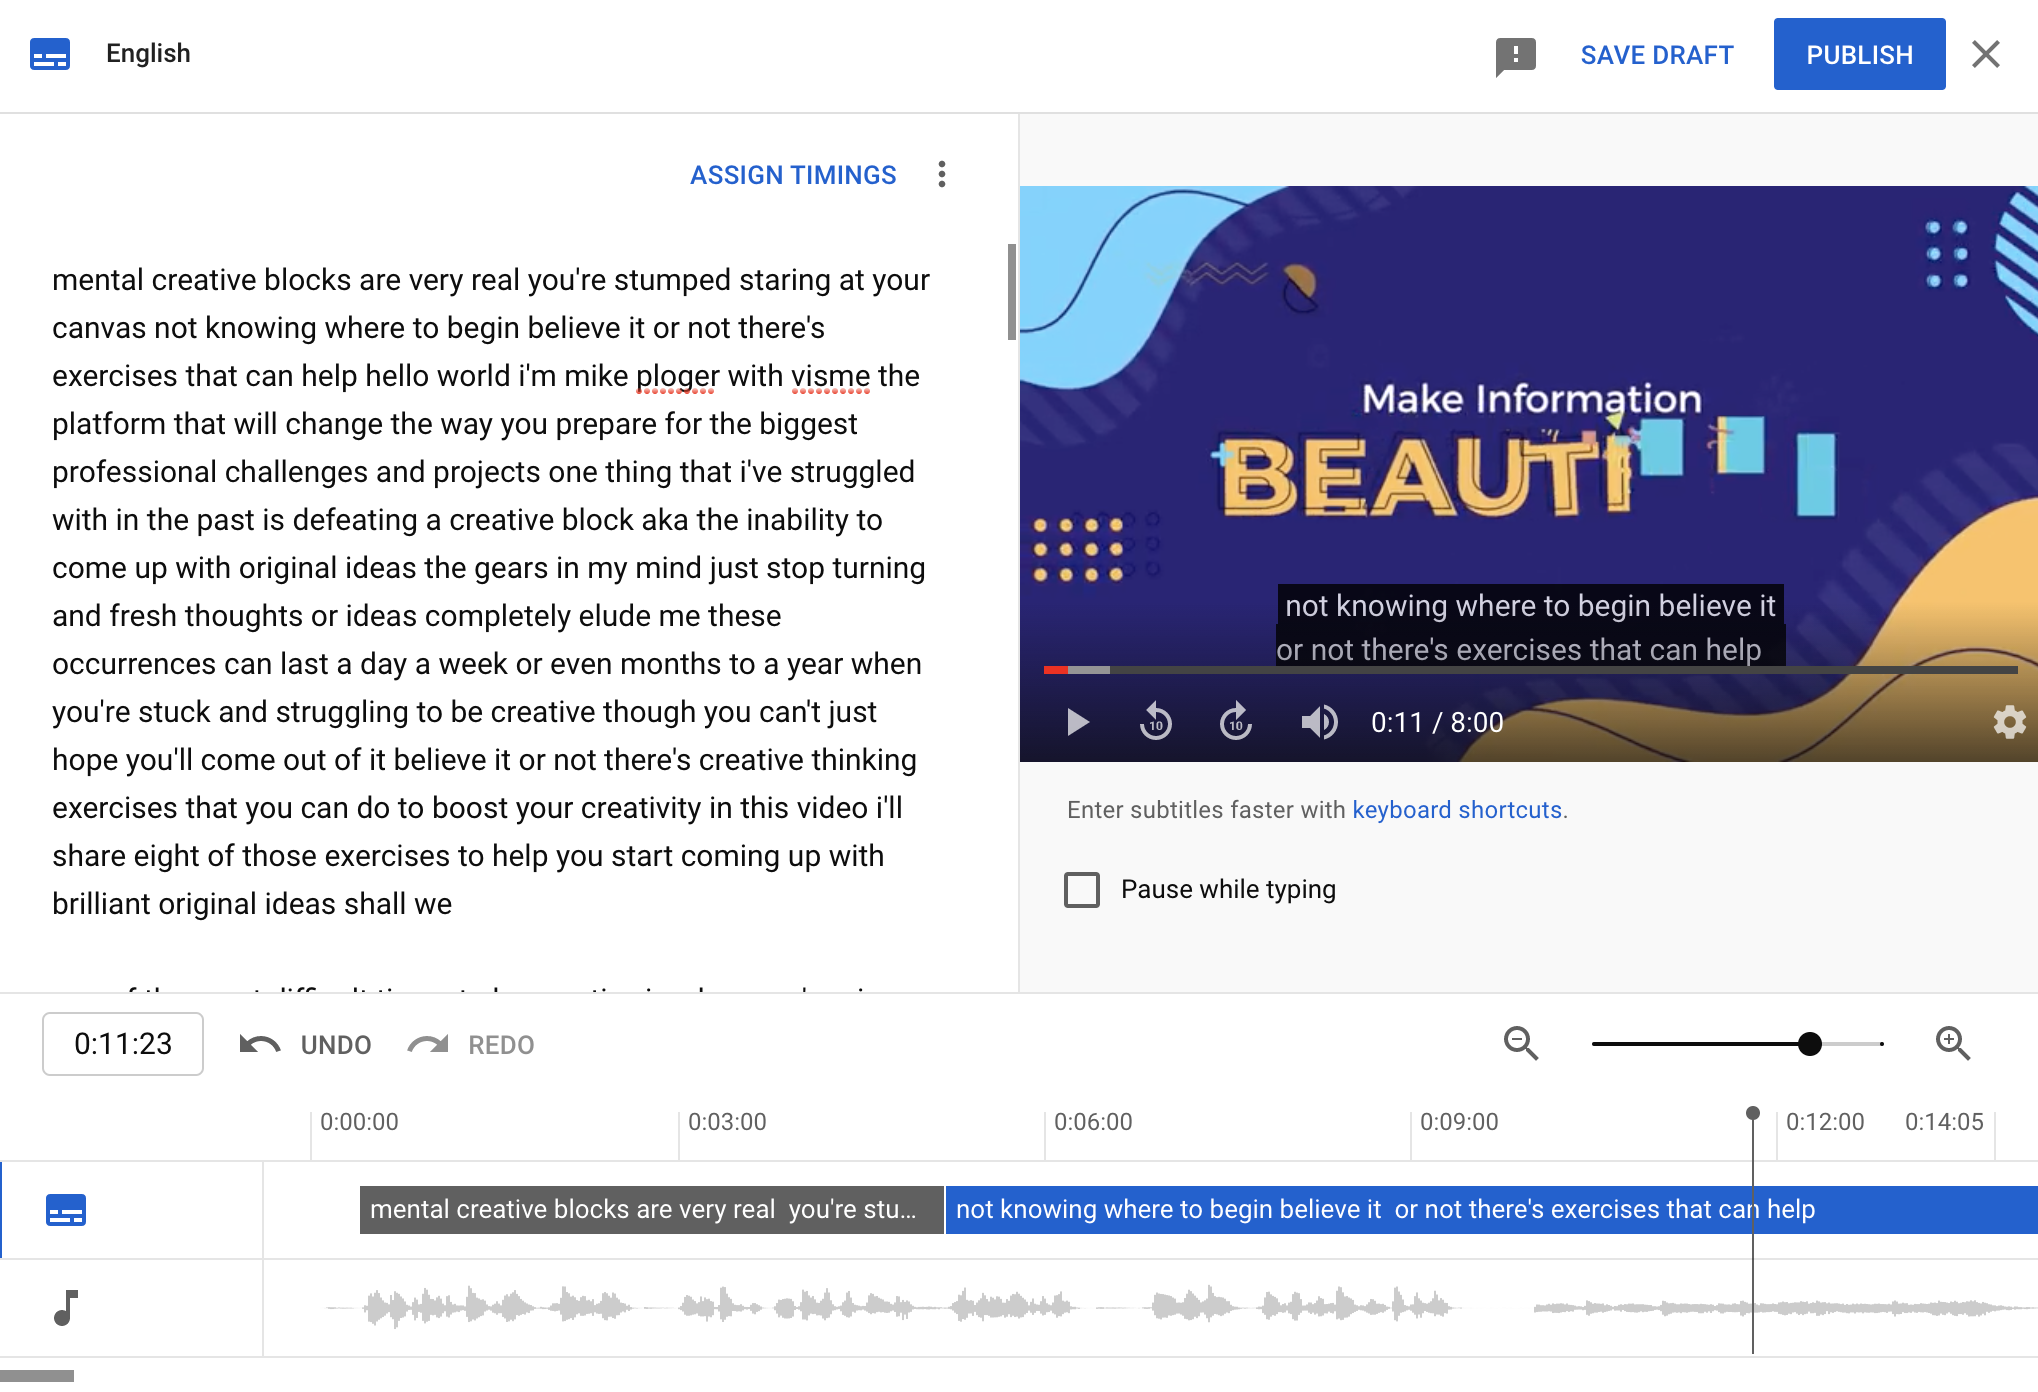
When you first add subtitles to your video, YouTube automatically publishes their automated subtitles that their tool captures from your video.
As mentioned before, these aren’t typically 100% accurate and often don’t include proper punctuation. But it can be the perfect, completely free option to help you get a jumpstart on captioning videos on a budget.
You can watch and pause the video alongside the caption box so that you can make any necessary corrections to your YouTube subtitles and immediately publish them so your viewers have access to them while watching your videos.
Rev
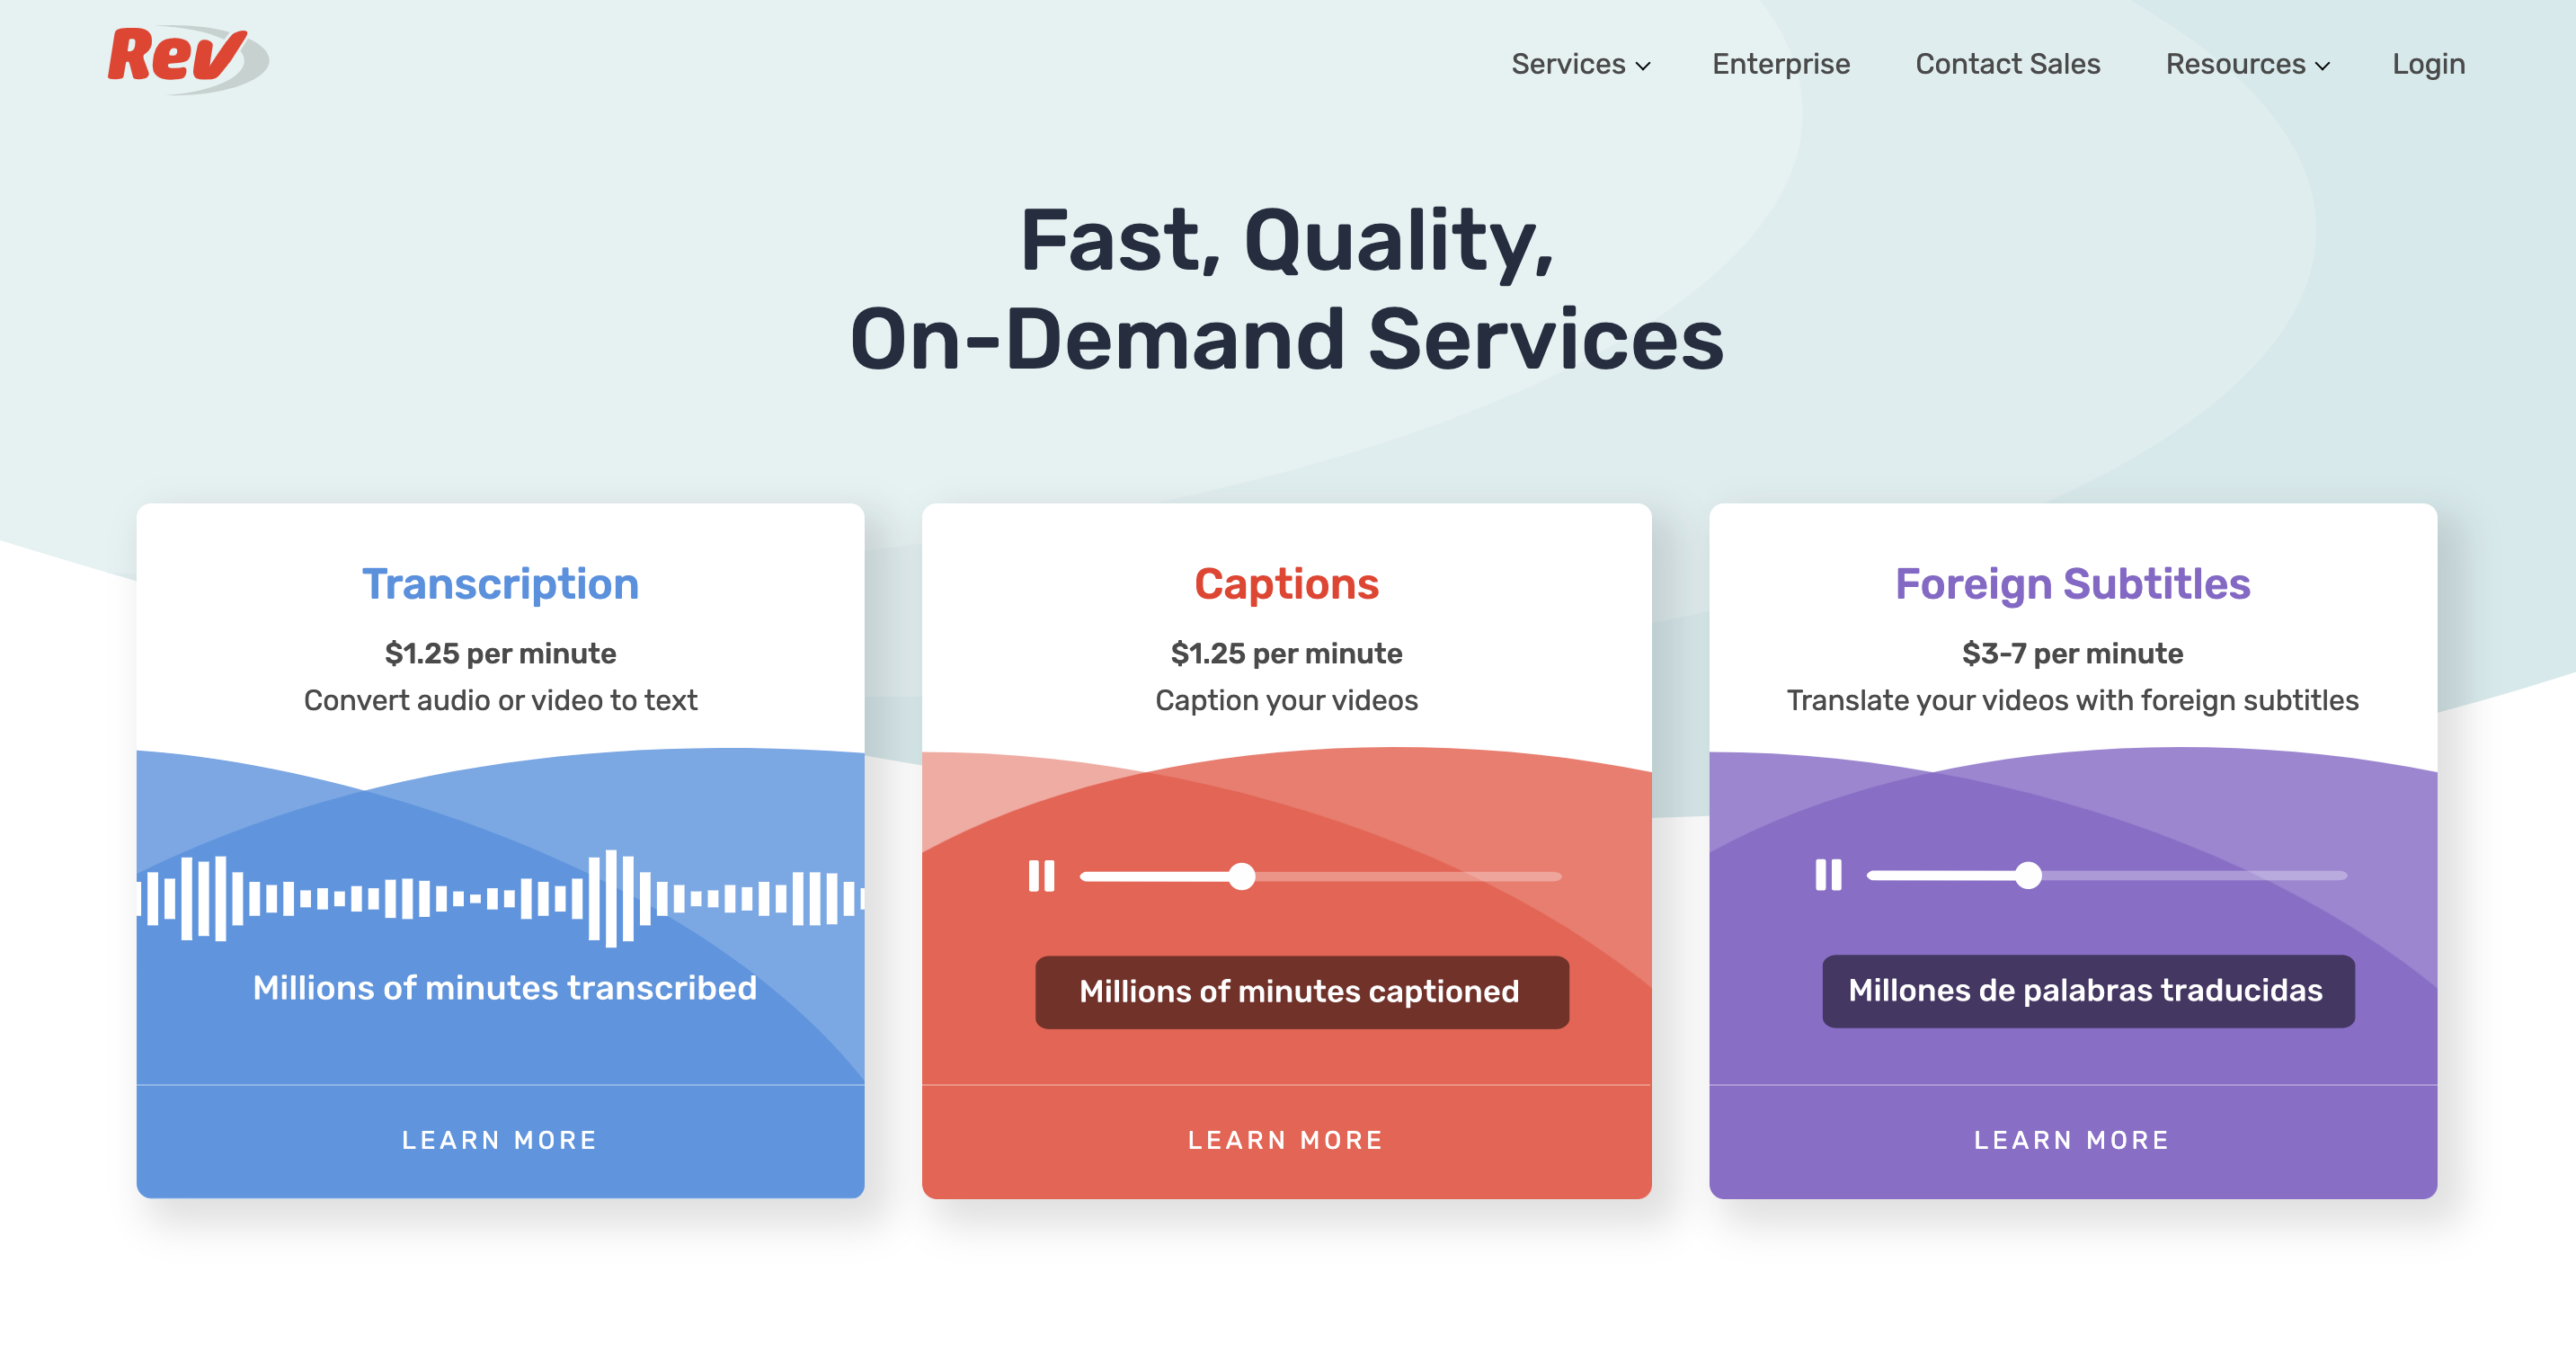
Rev is a transcription company that offers a few different options for transcription for a fee. You can get captions written for your videos by human professionals with 99% accuracy for $1.25 per minute, or you can get a transcription on a budget and have their AI machine transcribe your content with 80% accuracy for $0.25 per minute.
With its different offerings, Rev is able to fit a variety of different budgets and make it easy to get closed captions for your YouTube videos. Once your transcriptions are complete, you can easily paste them into the subtitle editor on YouTube and publish them.
Otter.ai
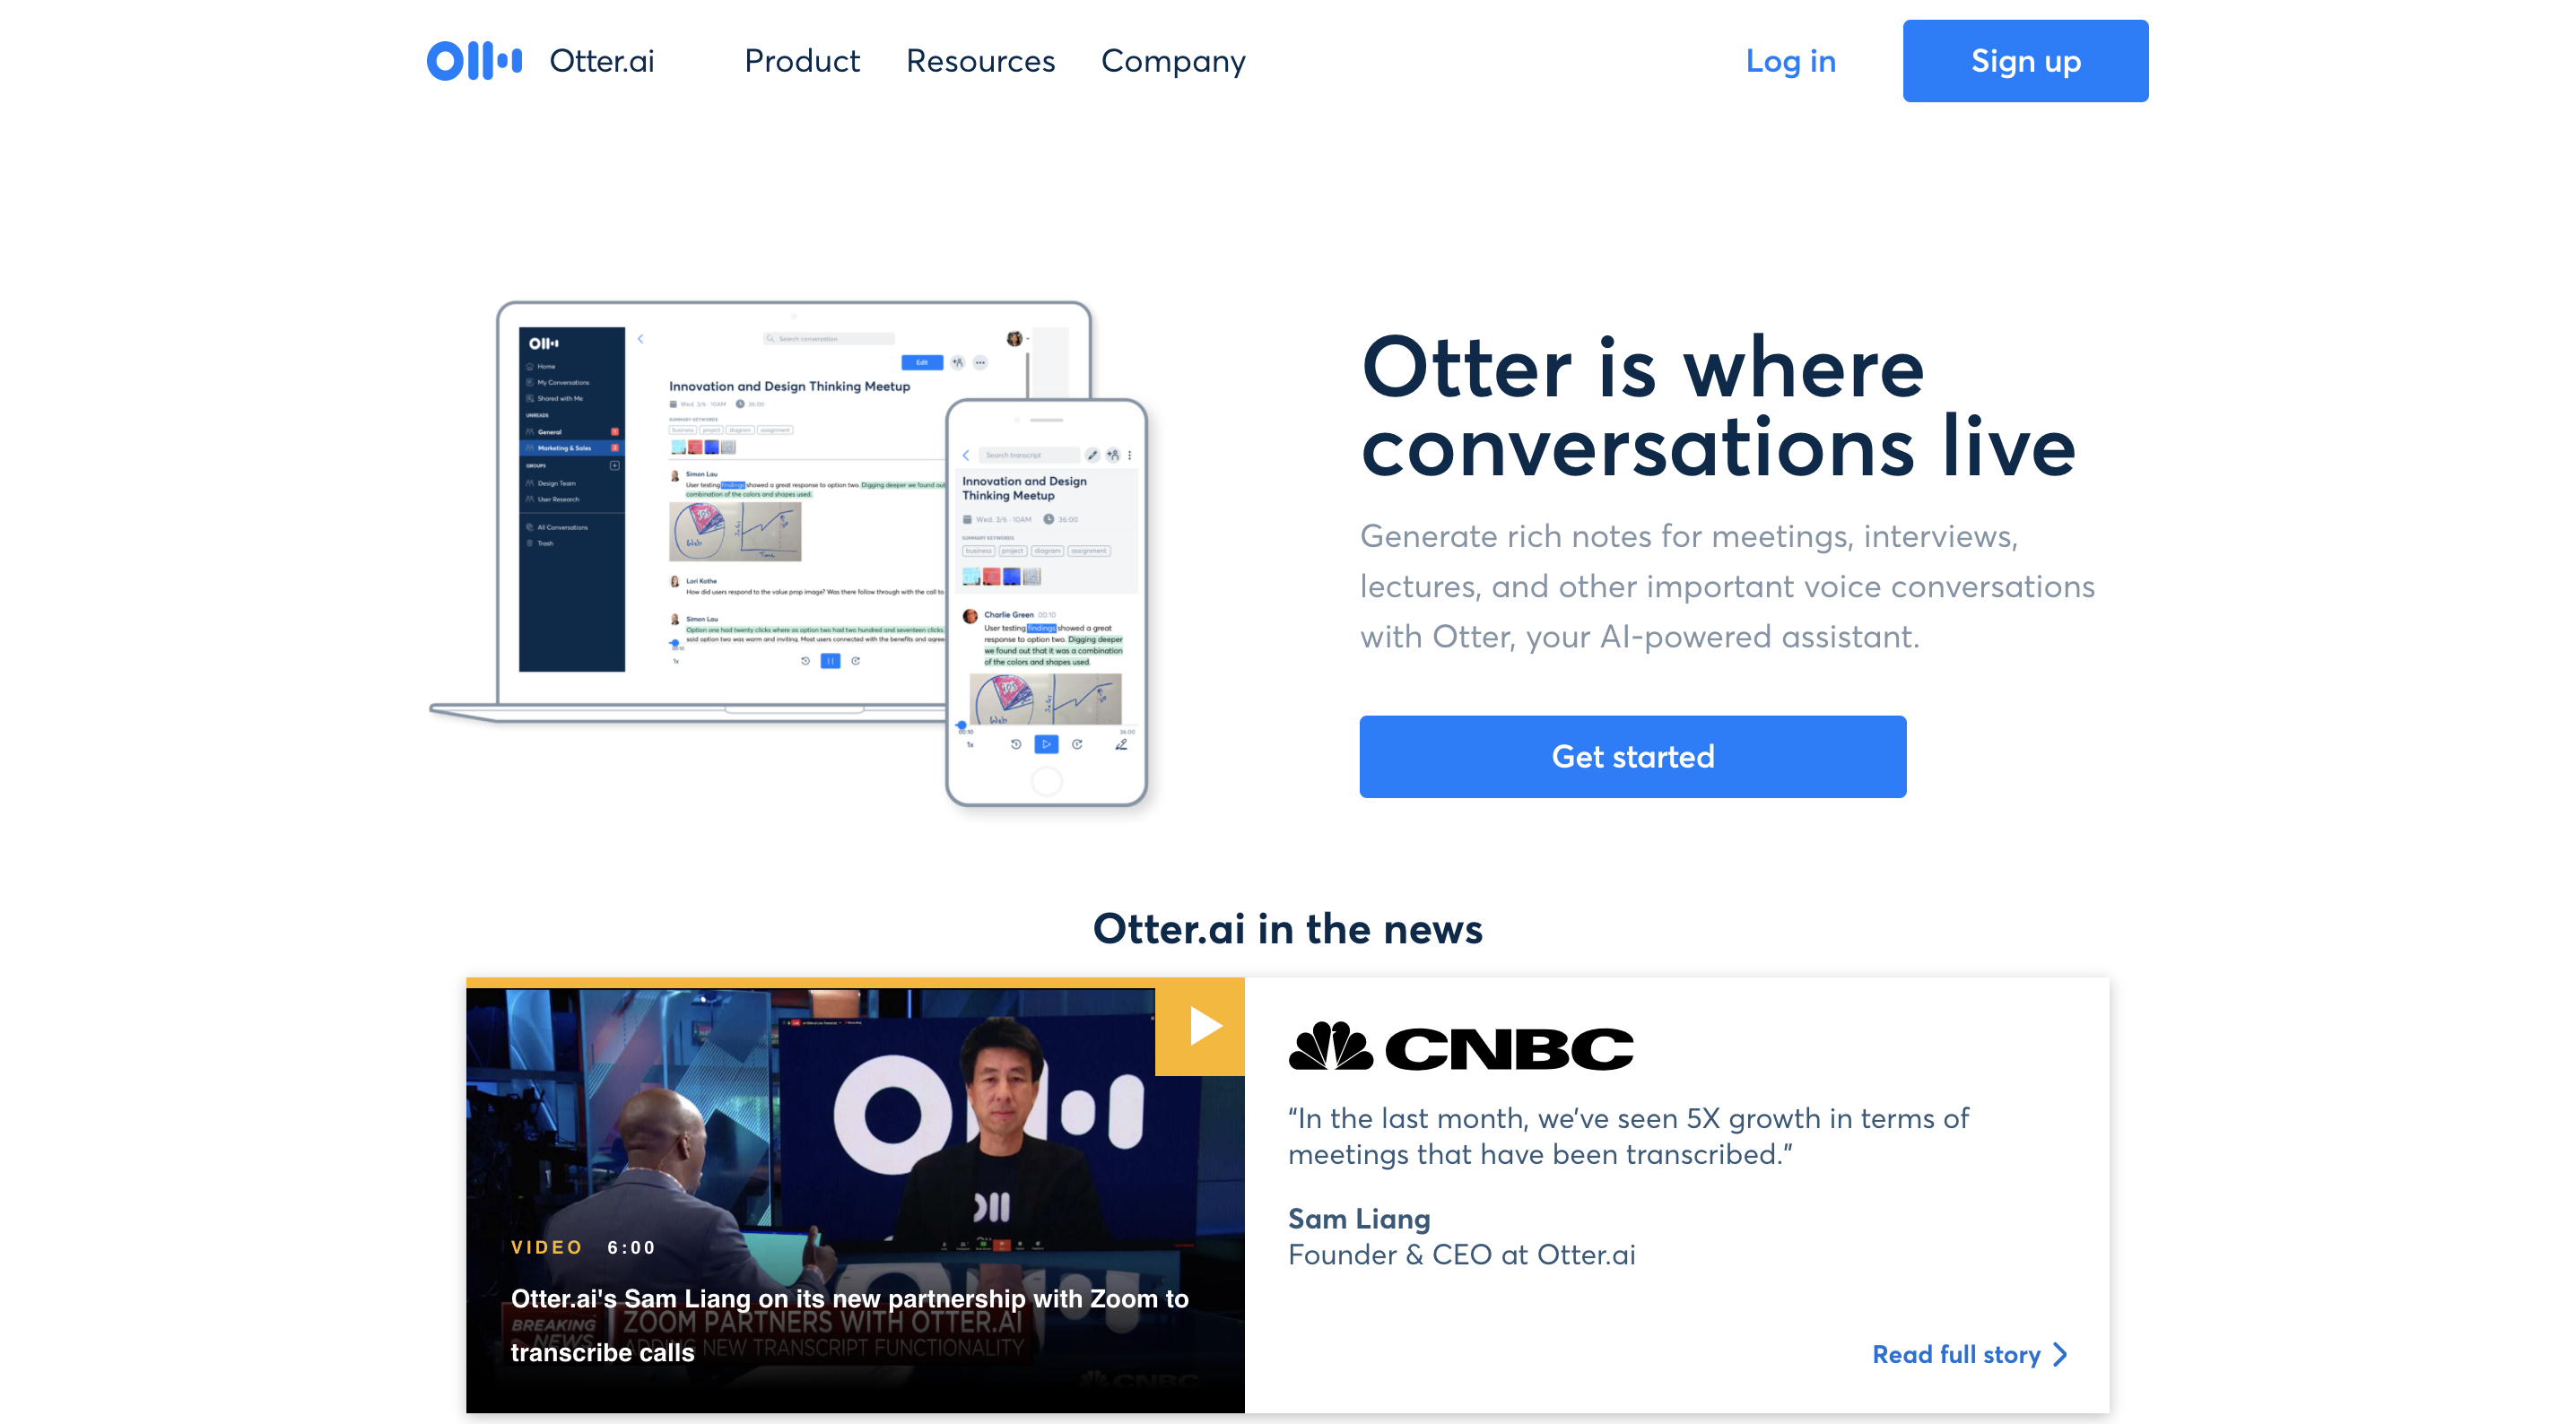
Otter.ai is a transcription software that can be used for live transcriptions of meetings, video conferences as well as your YouTube videos to create highly accurate captions and meeting notes.
The AI-powered software allows for immediate, automated transcriptions of your meetings and videos at an affordable cost.
Otter.ai has a free plan with a limit of 600 minutes of transcription as well as premium plans starting at $12.99 per month so you can easily get started transcribing your YouTube videos and adding subtitles to each new video you publish.
Subly
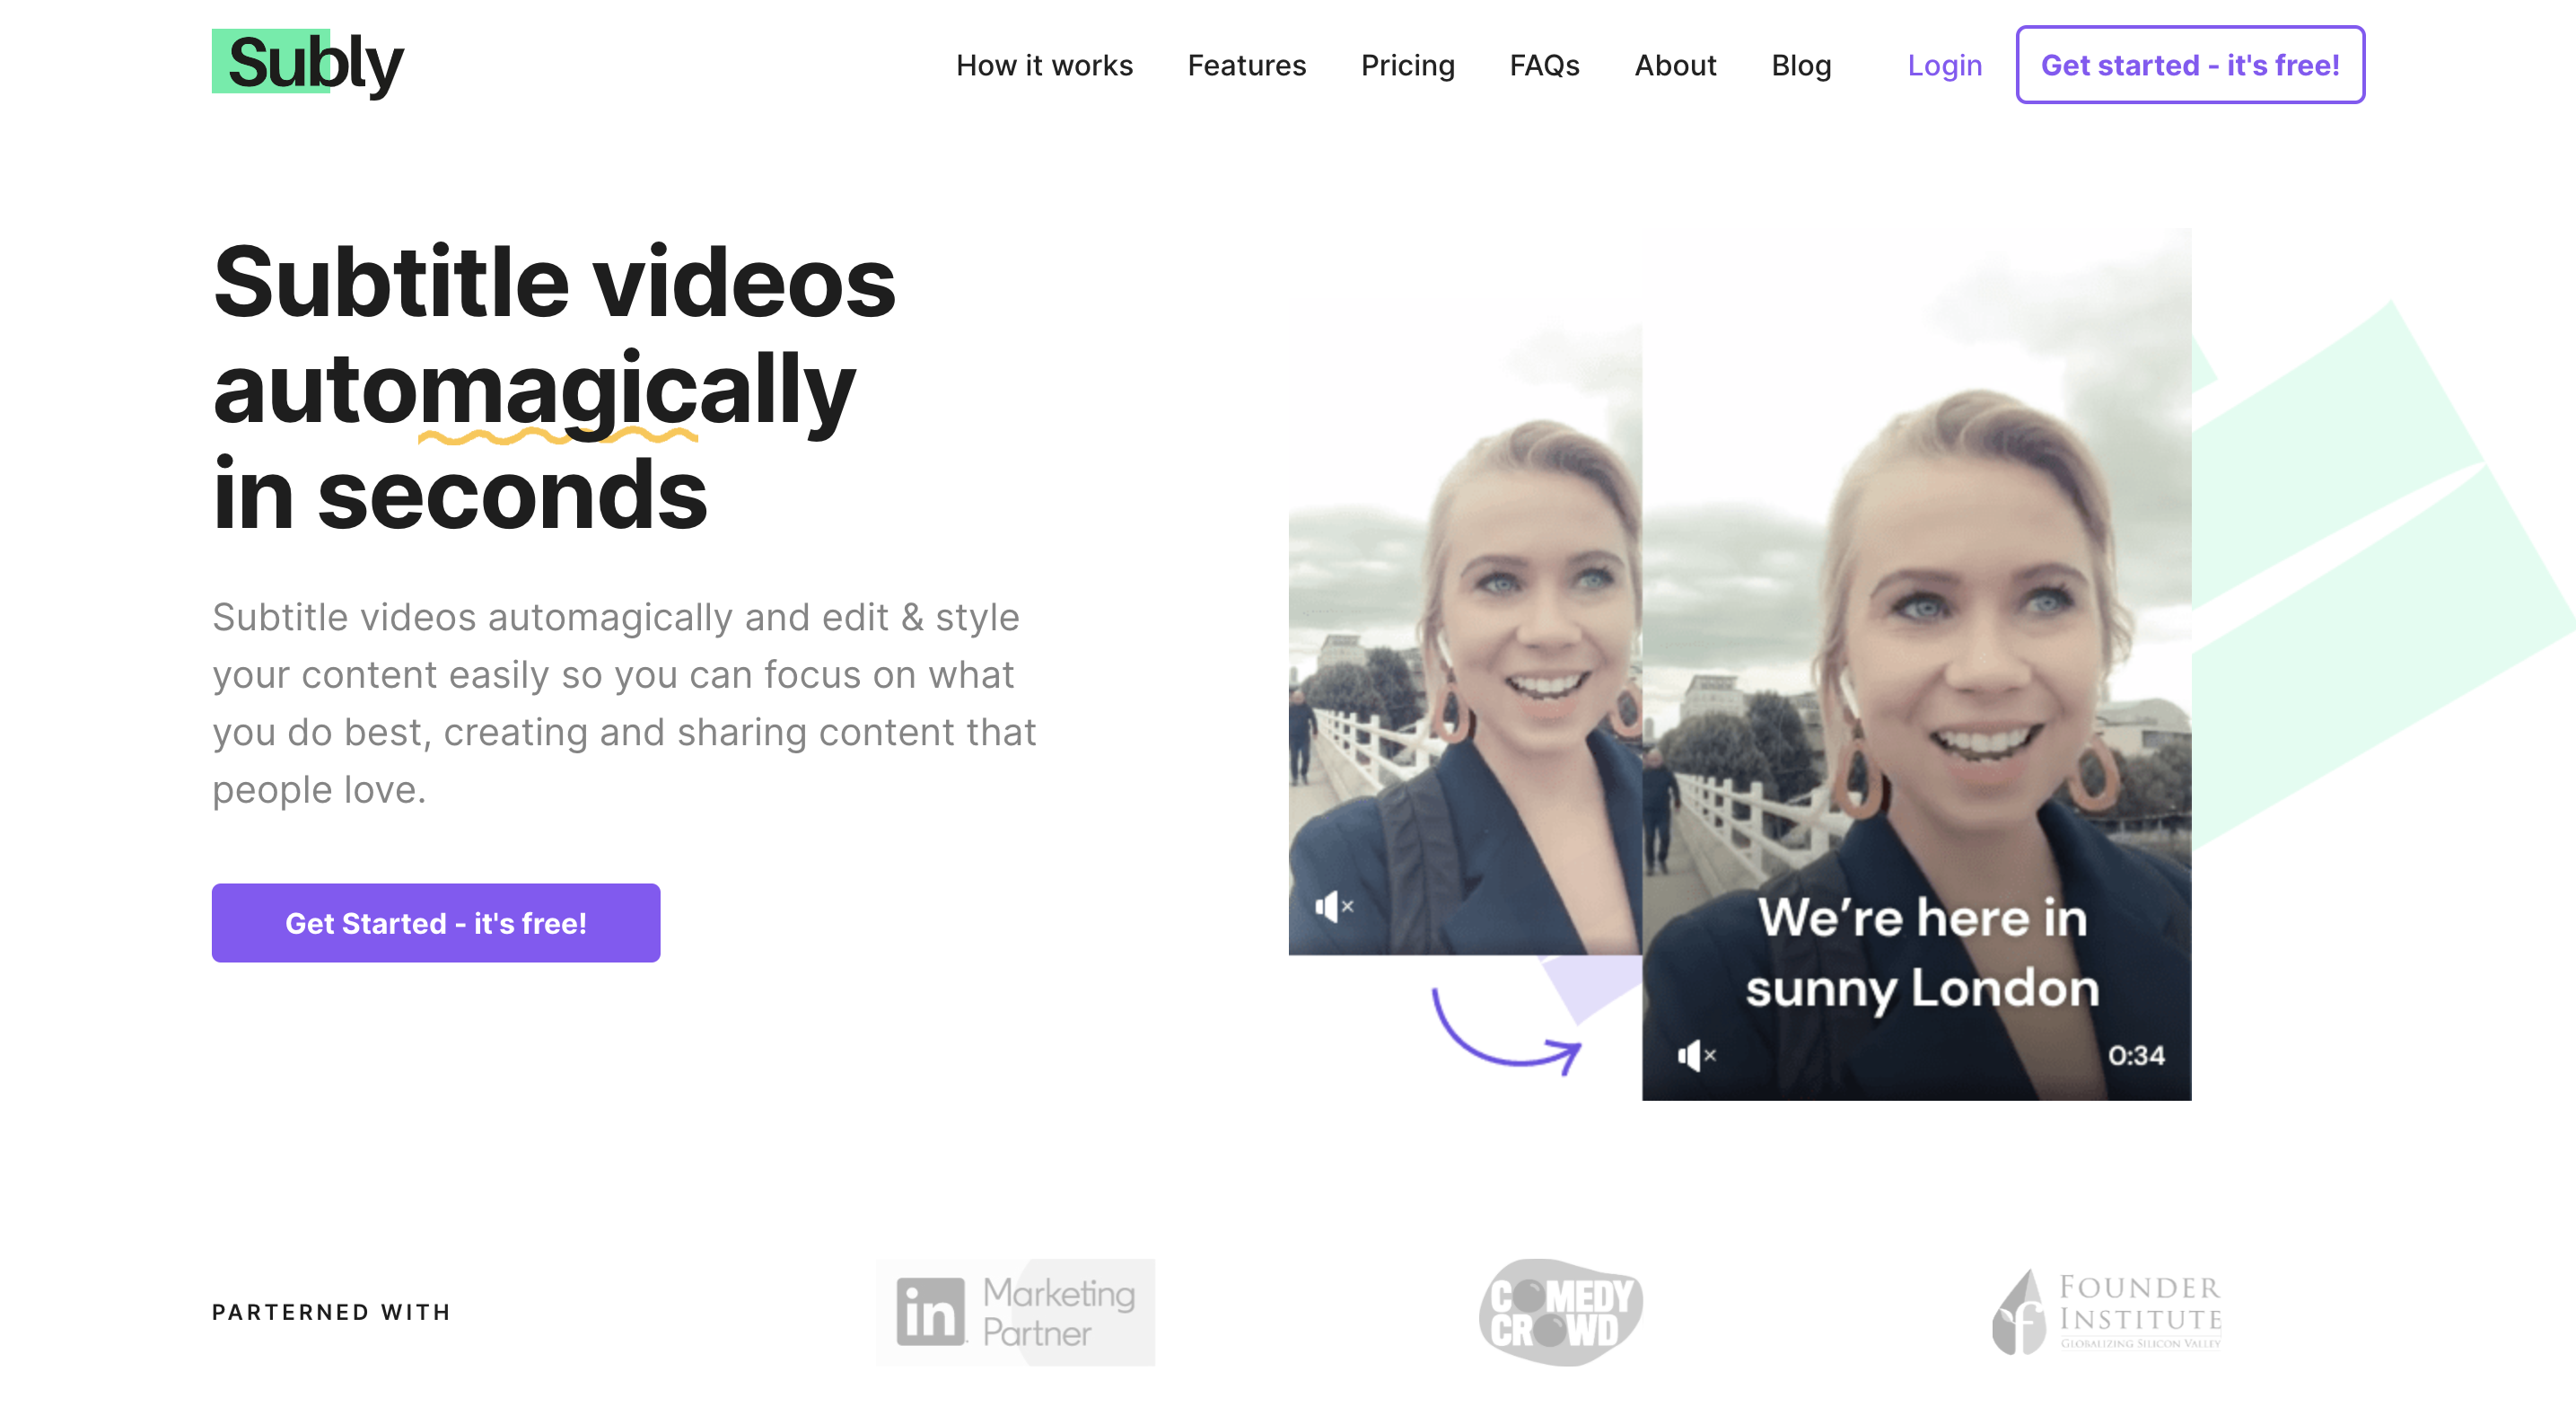
Our last tool recommendation to help you add captions to video online is Subly. This tool was created specifically for captioning videos for accessibility and user experience.
There are a couple different ways you can create subtitles for your videos. You can have the tool automatically overlay the captions on your video in your choice of font and font color, or you can download the caption text to add to a video editor.
While overlaying video subtitles can be perfect for platforms like Facebook or Instagram Stories, you want your YouTube subtitles to be readable by search engines. Therefore, you’ll want to export the text file so you can paste the captions into the subtitle text area on YouTube.
Subly comes with a free plan for up to 40 minutes of transcription, which is perfect for when you’re regularly creating and sharing shorter videos on YouTube. If you need more than 40 minutes, pro plans start at just $8/month for 100-1,000 minutes of transcription each month.
Start adding YouTube subtitles to your videos
Accessibility and user experience are important issues to take into consideration for all of your online content and for all audiences. To learn even more about making your social media content accessible and inclusive, read our post on online accessibility here.
37 free social media strategy templates that will elevate your workflows
Published on December 5, 2025 Reading time 15 minutes
Share