Your complete guide to creating a Reels strategy for Instagram and Facebook

Written by Natalie O'Grady
Published on November 4, 2024
Reading time 9 minutes

Table of Contents
Instagram has evolved, but the channel’s focus on visuals has remained. From selfies to beautiful plates of food to well-crafted travel shots, Instagram is the choice for sharing and enjoying images. In the last few years, Meta launched Instagram and Facebook Reels. If you’re not using them already, Reels should be the next addition to your Instagram marketing strategy.
In this comprehensive guide, we’ll dive into what Reels are and how your brand can take advantage of these bite-size videos. We’ll share tips from Meta for creating a successful Facebook and Instagram Reels strategy, including how to boost your Reels to reach a wider audience.
What are Instagram Reels?
Instagram Reels are short-form videos that offer you options beyond the square sizing of the network’s feed. Reels have a 9:16 aspect ratio and can be 15 to 90 seconds long. Users have the option to add background audio, whether a voiceover, music or trending sound. In contrast to long-form and typically more polished videos, Instagram Reels are bite-sized, casual and highly discoverable. When posting a Reel, you can choose to add it to Facebook and Threads too.
Joana Rocha, Senior Technical Partner Manager for Reels Ads, Video and Threads at Meta, says Reels are a major driver of Instagram traffic.
“Approximately 50% of time spent on Instagram is on Reels,” she says. “Reels is a rich, growing, creative canvas where brands can turn attention into action.”
Rather than showcasing long-form scripted content such as an in-depth tutorial, these are meant to be quick videos for entertainment or education. You can select a cover for your Reel, so it seamlessly blends into your main feed’s grid style. Instagram profiles also have a Reels section that displays a Reels only grid.

Instagram and Facebook Reels algorithm explained
Meta’s goal is for users to easily find and view content that resonates with what they enjoy and Reels play a key role.
“Our aim is to make Reels entertaining, relevant and inspiring,” Rocha says. “We know it’s important to recommend content that does that, and will continue iterating on the experience to make it better.”
Instagram and Facebook’s algorithm takes several factors into consideration when serving content to users. This includes inputs from individual users themselves and broader patterns from the community. The algorithm caters suggested content to users based on their interests and content they’ve liked or commented on. Trending and popular Reels from across Instagram are also suggested. Rocha says the goal is for both types of content to inspire individual users to create Reels of their own.
How to make a Reel on Instagram and Facebook
We’ve put together a quick start tutorial for how to make a Reel on Instagram and Facebook so you can get started.
How to make a Reel on Instagram
Follow these steps to create a Reel on Instagram:
1. To get started, navigate to your brand’s profile page and tap the plus sign at the top right of the app.
2. Select Reel from the Create menu.

3. Once you’re here, you’re ready to start making your Reel! If you’ve pre-recorded and edited a video, you can upload it from the initial Reels screen. Otherwise, choose Camera near the top right to record a new Reel.

4. Before you record, choose your timeframe. You can select 15, 30, 60 or 90 seconds from the Length option on the right side of the screen. This will determine how long you can spend recording your Reel.

5. You can stop and start recording at any point to switch camera angles, record different subjects or do quick costume changes. Be as creative as you want when creating a Reel on Instagram. You can also use different templates or effects on Reels when recording on your phone.
Before moving on to your next snippet, you can delete and re-record or trim any parts of your previous snippet. Instagram also gives you the option to speed up or slow down your Reels recording for an added effect to your video.
6. Once you’ve finished recording, you can add music and effects, including on-screen text. Press the forward arrow to preview your Reel and make sure it’s what you want it to be.

When adding text and overlay effects to Reels, keep in mind key video specs. Rocha recommends, “Work within the safe zones so your text sticker overlays, calls to action or key messages aren’t obscured by the Reels user interface. Keep the bottom 35% of your 9:16 creative free of text, logos and other key elements.”
7. Lastly, write your caption and search for Instagram Reel hashtags to add to your caption (or comments after publishing). Then decide where to share your Reel on your profile before you publish it.
How to make a Reel on Facebook
Publishing a Reel on Facebook is fairly similar to Instagram, especially in terms of features and effects. Follow these steps to create a Reel on Facebook:
1. Go to your brand’s profile page and select Video. Here, you’ll see a Create Reel option listed before your previously posted videos.

2. Begin recording or select a previously recorded video. You can select different effects, use a green screen, change the speed and more. You can stop recording and start again at any time to create a new scene. You can also add music or other audio and any additional effects before publishing. Remember Rocha’s tips about overlay and text placement apply to Facebook as well.

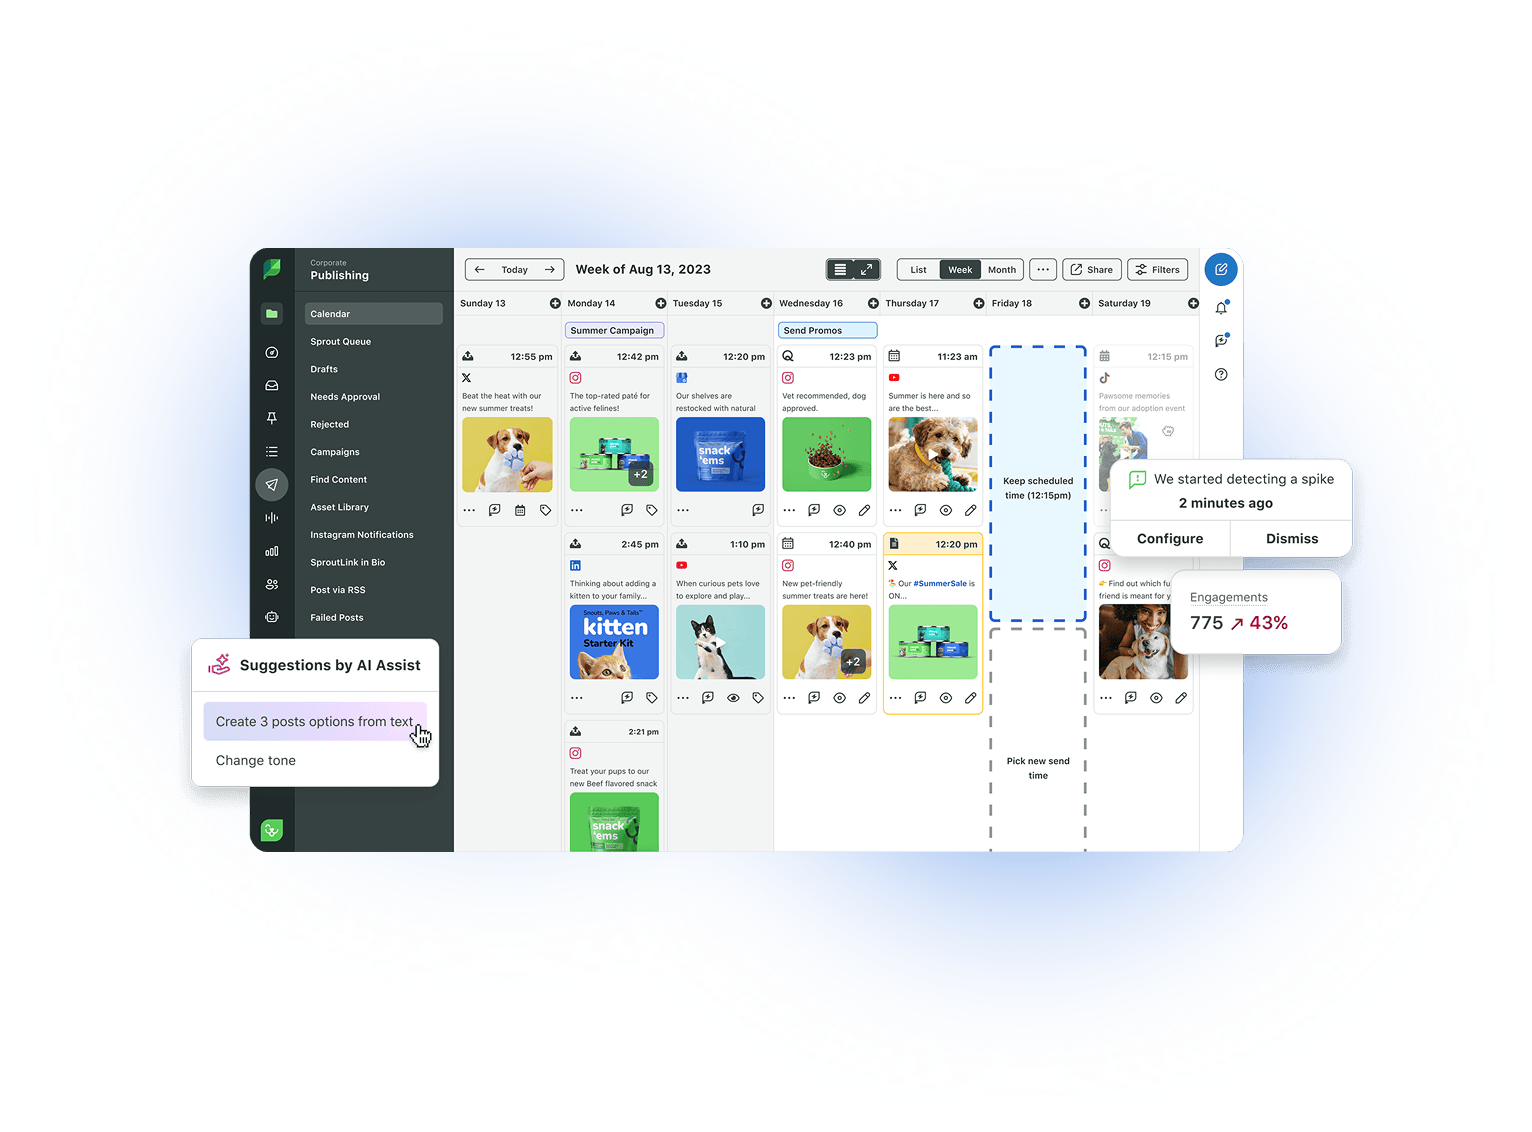
While you can craft a Reel in the Instagram and Facebook apps, Sprout Social’s platform makes it easy to upload and post Reels. You can upload a thumbnail image for the main feed. You can use the Compose feature to plan out your content in advance, schedule it and track performance against your goals. When choosing a day and time to schedule, consider the best times to post on Instagram or use Sprout’s Optimal Send Times™ to automatically select the time your audience is most active.
Reels best practices and tips
With so many options to create and customize your Reels, here are some best practices and tips to help you navigate where to begin.
Create engaging content
Sometimes the social media content you make doesn’t need to have a sales or conversion objective. Instagram Reels give you the opportunity to make and share content simply for your audience to enjoy, helping you build customer relationships and connection with your followers. Showcase your product, your team or your service in an authentic way by creating unique content.
Here are a few ideas to get you started:
- Make fun content for your audience. The entire point of Reels is to make bite-sized content that excites your audience and gets them to follow along for more great content.
- Create tutorials. Instagram Reels is the perfect place to make short, easy-to-follow tutorial clips that showcase how to use your product or service, or how to do something that’s relevant to your industry.
- Share behind-the-scenes videos. Introduce employees, show off new products yet to launch, share how your product is made, etc.
- Show off products. Take videos highlighting new product releases or showcase how your products can be used.
- Repurpose videos. Has your brand already developed a presence on other networks that support video? Repurpose your videos to save time from creating net new content.
- Promote sales with Instagram Reels. Let your audience know when you’re offering sales and discounts by sharing announcements on your Instagram Reels.
- Make educational content. Instagram Reels is a great place to put 15-90 seconds educational snippets that explain a concept to your audience that’s relevant to your business or industry.
As part of your engagement plan, make sure you post your unique content during the best times to post on Facebook or Instagram to maximize visibility and engagement with your audience.
Add interactive elements
Reels can up level your visual content by making it more interactive. Beyond inspiring discussion in your comments, interactive stickers and text can grab viewers’ attention and keep them focused on your content longer. Add a poll or quiz to incorporate trivia or get a feel for customer opinion on a topic. Insert a question submission box as part of an “ask us anything” Reel and respond in future posts or on an Instagram Live. You can also add emoji sliders and animated graphics for additional quick but fun interactions.
Use trending songs and sounds
Instagram trends are often tied to specific audio. Newly released songs that trend on social media often find their way to the radio and older songs can experience a resurgence in popularity if they go viral. Audio and visuals go hand in hand in this medium, according to Rocha.
“Audio—whether that’s music, voiceover or sound effects—is a key driver of engagement and entertainment on Reels,” she says.
When making a Reel, browse trending sounds and select one that fits your content. Sometimes these sounds have memes or dances tied to them, so consider participating the way other users are if possible. Look for sounds emerging in popularity instead of one that’s already viral to stay ahead of the curve. Be sure to listen to the full sound and understand how it’s being used to confirm it’s brand appropriate. Also consider consulting with your brand’s legal counsel during internal content approval processes to confirm usage rights and legal compliance.
Respond to comments and feedback
Once you’ve posted your Reel, it’s validating and exciting to see comments roll in. Be sure to respond to comments, especially relevant ones, on a regular cadence. Whether answering questions or playing off of humorous comments, your brand’s audience will appreciate the reciprocation.
Sprout’s Smart Inbox will help you respond to comments across networks. Comments left on your posts appear in the Smart Inbox, eliminating the need to switch back and forth between apps and tools.

Partner with creators and influencers
Reels can be an impactful addition to your influencer marketing approach. Influencers and creators can be concepting and production partner for Reels. Rocha says influencers fuel the Reels ecosystem and can drive business outcomes from discovery to purchase.
“53% of people we surveyed agree they are more likely to purchase an item if it’s been promoted by a creator on Reels,” she says.
Rocha says that adding partnership ads on Reels to existing campaigns can led to a median 5% improvement on cost per result and a 20% higher conversion rate. In short, partnering with an influencer on a Reel can mean big return on investment (ROI) for your brand.
When selecting influencers to work with, look for those using Reels successfully. Sprout Social’s influencer marketing platform can help you locate and connect with influencers who’ll be a great fit for your brand. You can negotiate a partnership that includes Reels specifically, whether made by your brand featuring the creator or crafted by them.
Boosting Reels on Instagram and Facebook
Boosting your Instagram Reels extends your reach. You can boost Reels on Instagram when publishing them. You can also boost a Reel on Facebook by selecting the “Share on Facebook” option before publishing and then following the prompted option to boost to more people. To boost a Reel, choose it from your profile and then select Boost Reel in the bottom right. This will take you to a dashboard where you can choose a target audience, duration of ad and other specifics for your boost.
You don’t want to boost every Reel you post, however. Be strategic in your selections. You may want to boost Reels that tie to a broader campaign, feature new products or are part of your holiday marketing strategy, for example. You can boost a Reel you just published or previous ones that have performed well.
Within Sprout, boosting Reels on Instagram or Facebook is easy and shows up in several areas within the platform as an option. You can boost any post you publish within Sprout with the “boost post” option in the publishing workflow. You can also find options to boost in the content calendar and in reports. If you see a post is performing well, you can boost it with just a few clicks.
How to measure Reels performance
Once you’ve done the hard work of creating, editing and sharing a Reel, you’ll likely be eager to see how it performed. And knowing how to analyze Instagram Reels analytics to grow is invaluable. To start, track metrics like comments, shares, likes and engagement rate. For Reels specifically, you can add views as an additional video-specific metric.
Instagram insights and Facebook analytics enable you to monitor how your Reels are doing within native dashboards. You can see insights for individual posts and view them alongside all of your Instagram or Facebook content.
With Sprout’s analytics dashboard, you can track all of these metrics from Instagram and Facebook in one location. Reporting in Sprout streamlines data from all of your other social networks to give you a look at the bigger picture. This can help you understand how your Reels are received on Instagram and Facebook and uncover nuances between the two audiences and channels.

Start creating Reels today
There’s no better time to get started with Reels on Instagram and Facebook. With these short, digestible videos, you’ll be able to build a more engaged audience. Using the tips in this article, you’ll be able to start experimenting and find what resonates most with your customers. Once you find your rhythm, boosting will maximize your efforts and increase social ROI for your brand. Having the right tools in place will help you seamlessly integrate Reels into your social strategy–explore our guide to the top Instagram marketing tools to consider.
37 free social media strategy templates that will elevate your workflows
Published on December 5, 2025 Reading time 15 minutes
Share