March 21, 2018
Bulk Scheduling
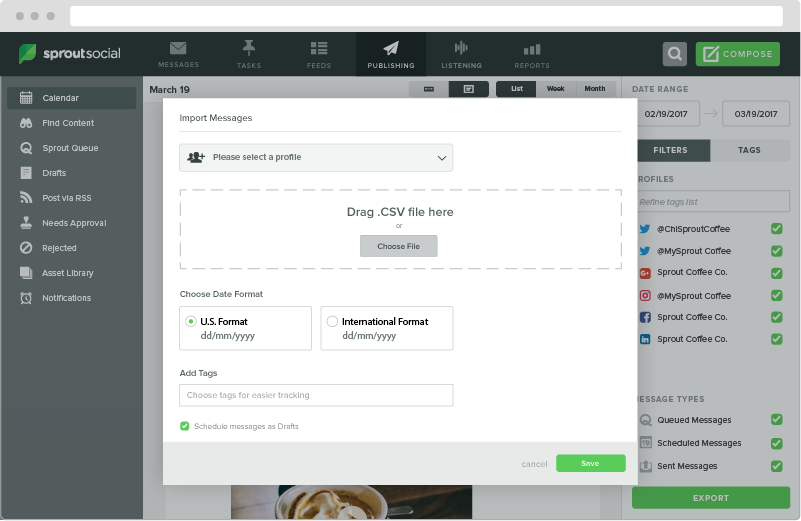
You can now quickly upload and schedule a large chunk of messages efficiently, receive emailed import status updates and easily find imported messages by adding existing or newly created tags.
- HOW-TO
- Go to Publishing. Once on the Calendar view, select the Import button at the bottom of the right panel.
- Select your desired profiles. Drag and drop or select the .CSV from your computer to begin importing messages.
- Choose your preferred date format (U.S. or International format).
- (optional) Add or create your desired tags for this import.
- (optional) Check the box to schedule messages as drafts on the Calendar.
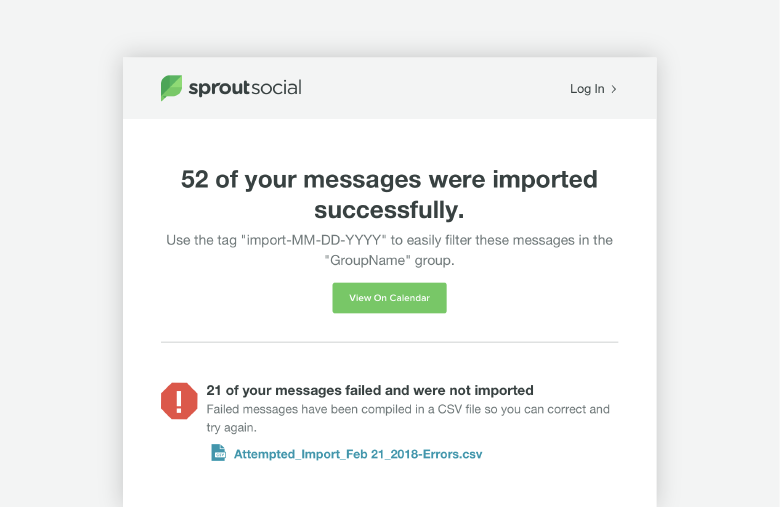
- Select Start Import. You’ll receive emailed status updates once the import has completed.
Note: This feature is available for Professional and Advanced plans.
Share