July 22, 2019
Monitor and manage Facebook and Google My Business reviews
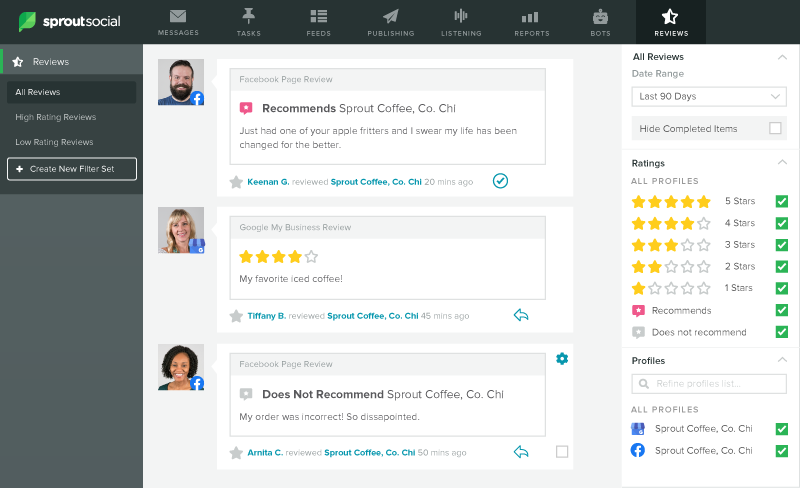
Sprout’s new Reviews tool enables you to easily monitor and manage Facebook and Google My Business reviews across all of your business locations in one centralized stream.
Start managing your reviews in the new tab by clicking the Reviews star icon in the top right of the navigation bar. Reviews is available to all plans. Note: Any Facebook reviews that were previously being pulled into the Smart Inbox will now move permanently to the Reviews tab.
- HOW-TO:
- Filter reviews in the Filter Bar on the right. You can filter by date range, message status, profile, and rating (including star rating and recommends/does not recommend)
- Reply to a review by clicking the arrow in the bottom right corner of the review message. Here you will also see options to Tag messages and Mark as Complete.
- Contextual options can be found by hovering over a message and selecting the Gear Icon in the top right.
Connect a Reviews profile
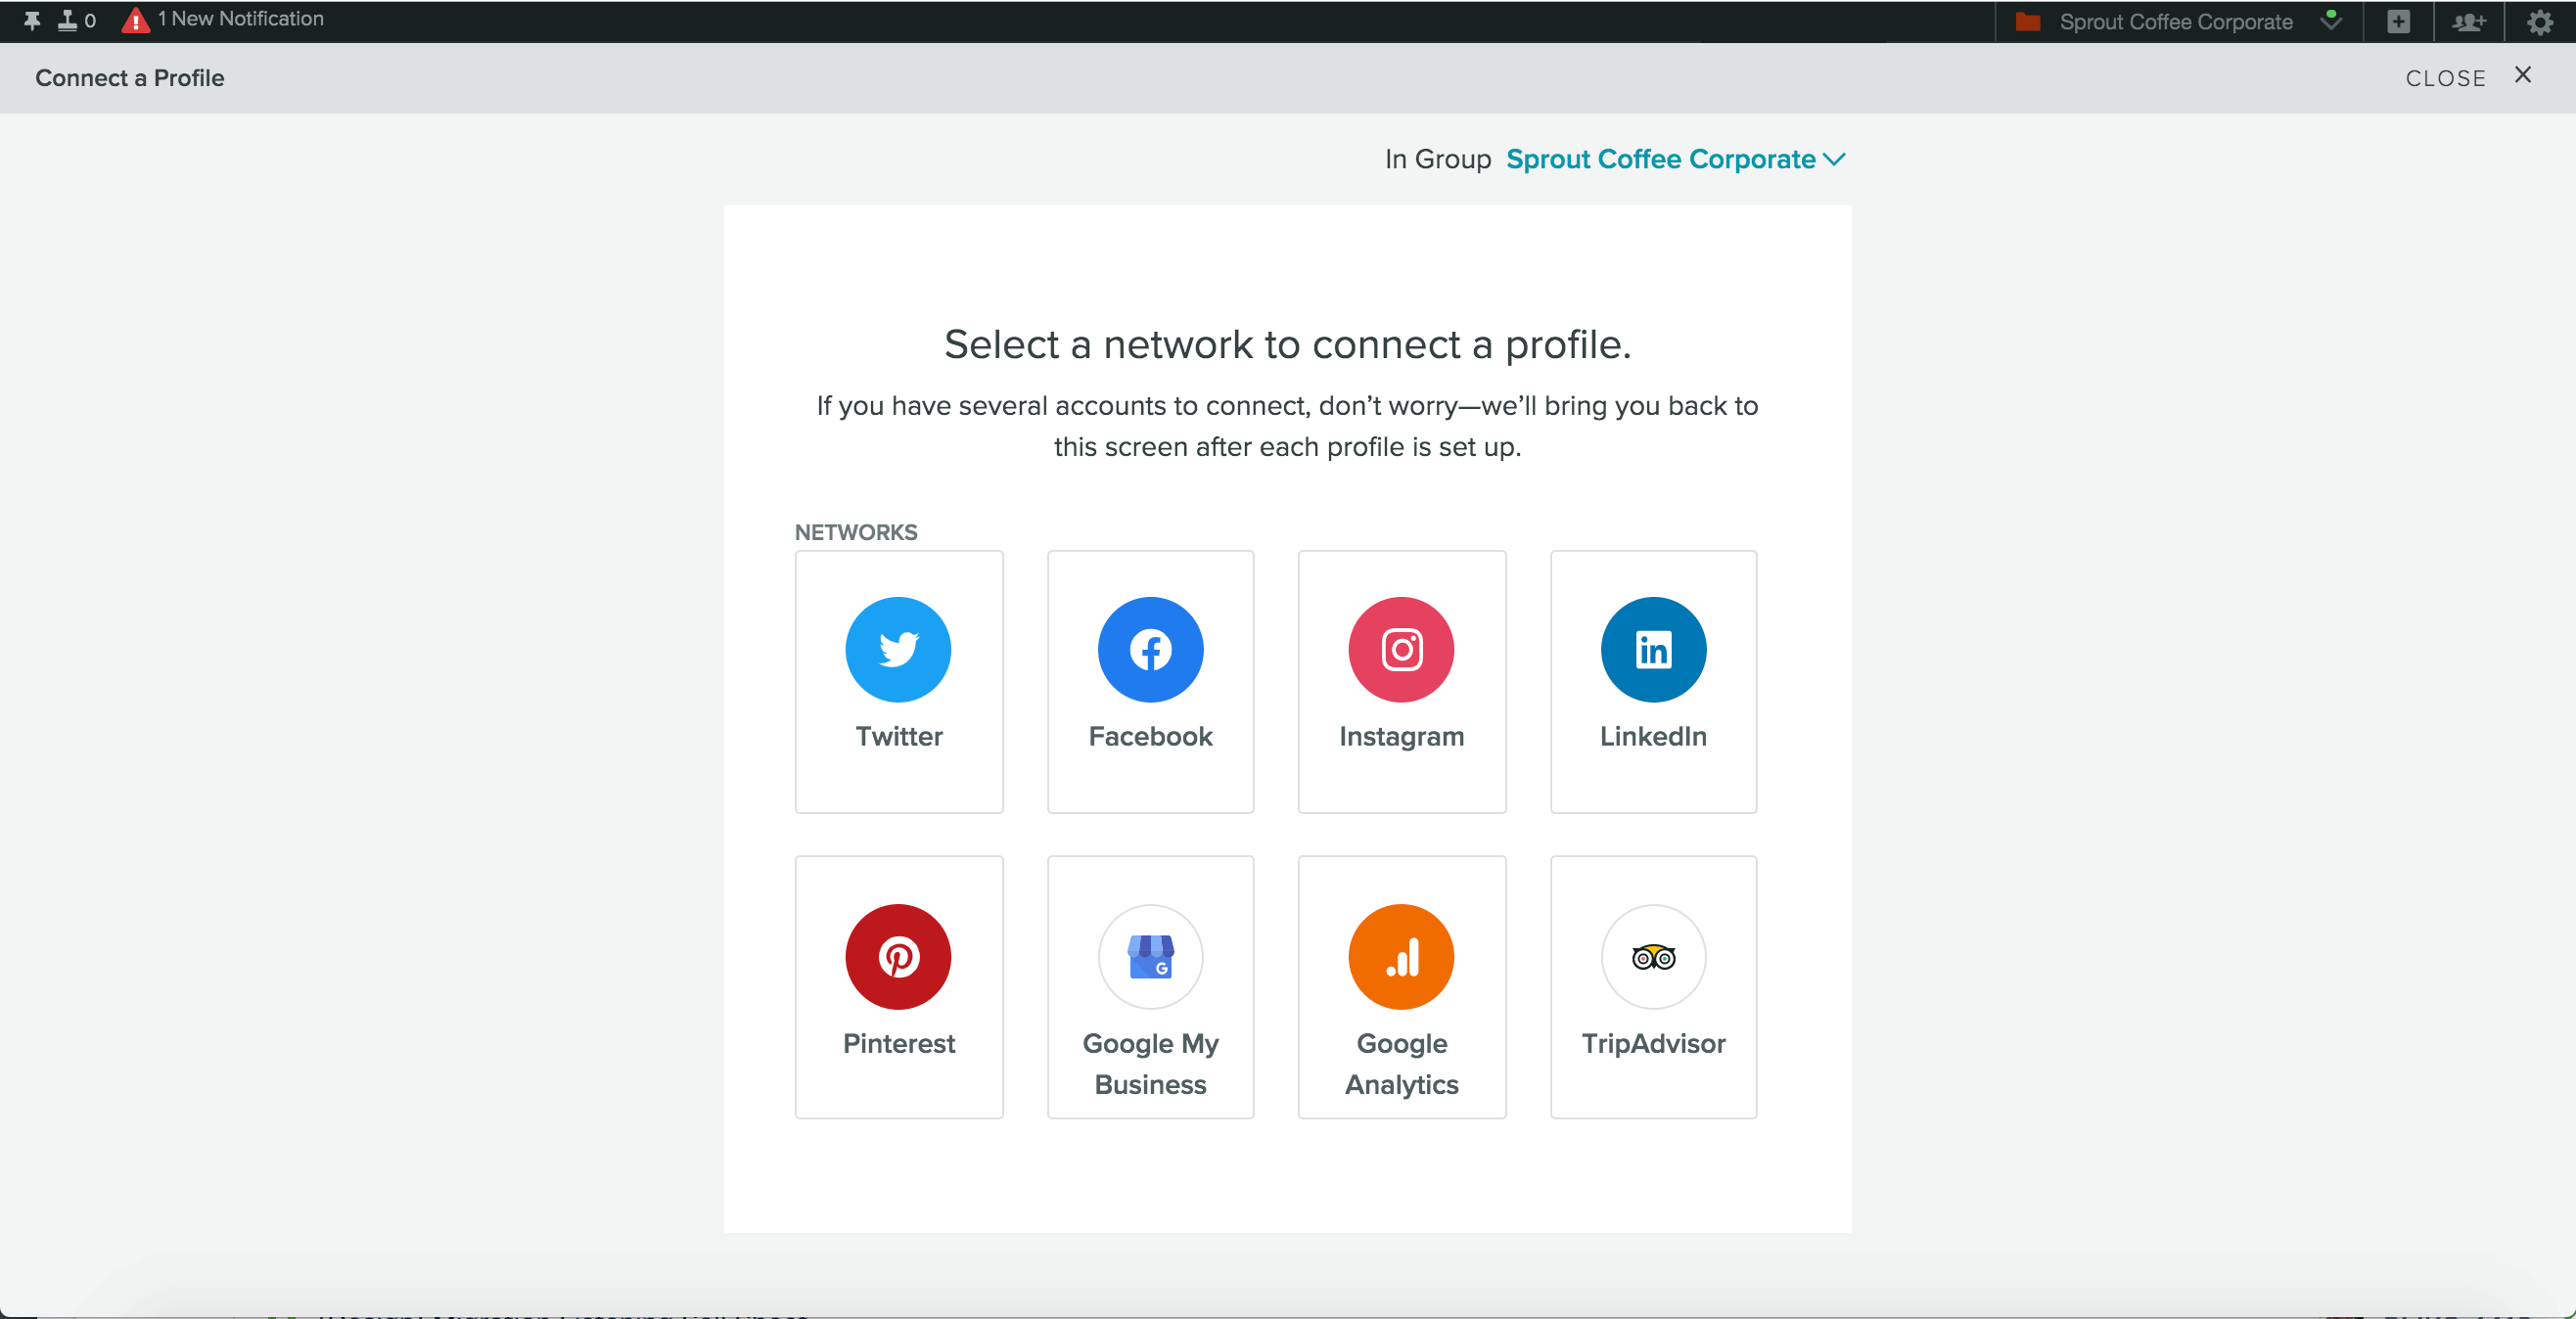
Connect your Facebook and Google My Business profiles to start managing reviews today. Please note that you must have Manage Profiles & Permissions privilege to connect a profile to your Sprout account.
- HOW-TO:
- Click the “Connect profile” button (box with plus sign) in the upper-right corner of the app.
- Choose Facebook or Google My Business. If you selected Facebook, click Connect Page.
- Click the button in the lower right corner of the Connect a Profile screen.
- You will be sent to the corresponding network’s site. Follow the prompts to authorize the profile.
- Alternatively, you can click the “Connect a profile” link at the bottom of the Filter Bar in the Reviews tab to add a Facebook Page or a verified and published Google My Business Location.
Create a custom view in the Reviews tab
In the Reviews tab, you can save specific filter sets to create custom views (ex.” 5-Star Ratings”). These views help you prioritize and focus your review management strategy, and can be shared with team members for better collaboration.
- HOW-TO:
- In the Reviews tab, click Create New in the Left Navigation Bar. This isolates the Filter Bar on the right side.
- Customize the filters you want for your new View and click Save. All saved Views will appear in the Left Navigation Bar.
- Once you click Save, a modal will pop-up for you to Name your View, choose who to Share it with, and click Save again.
- To delete or edit a View, click in the Filter Bar once a View has been selected.
Share