
October 6, 2016
Configure Image Asset Visibility Settings
Images uploaded to the Image Asset Library (available in Advanced plans) can be made available to all groups within your account or limited to a selected group.
- HOW-TO:
- Select Shared across all groups for uploaded images to be accessible from all groups.
- Select Limited to group to restrict access of uploaded images to the currently selected group.
- Click Confirm.
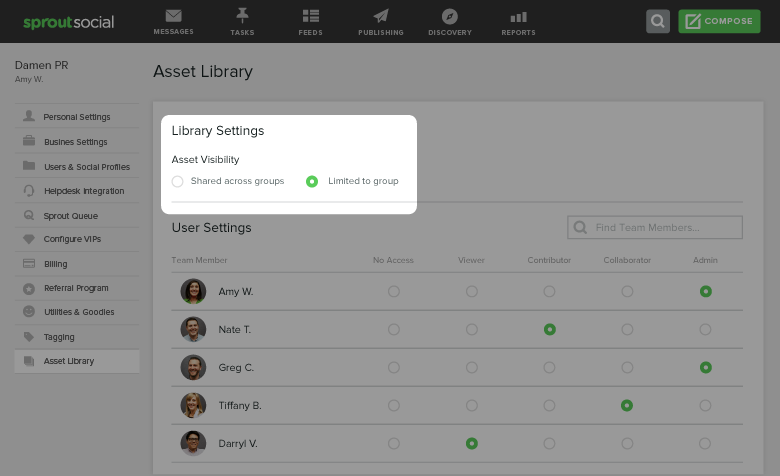
Note: Adjustments to this setting are not retroactive and will take effect only after the new setting has been selected. All previously uploaded assets will retain the permissions given to the assets at the time of upload.
Designate User Settings in the Asset Library
Easily set permissions in Sprout’s Image Asset Library (available in Advanced plans) with managed user settings. These settings are available to Owners and users with access to Manage Profiles and Permissions.*
- HOW TO:
- Go to Settings > Asset Library.
- Find a user and grant the appropriate asset library access.
- Viewer allows a user to view assets.
- Contributor allows a user to upload assets to the library, in addition to Viewer permissions.
- Collaborator allows a user to edit, download, and delete assets from the library, in addition to Viewer and Contributor permissions.
- Administrator allows a user to administrate the business and user permissions for the library, in addition to Viewer, Contributor and Collaborator permissions.
- Click Save.
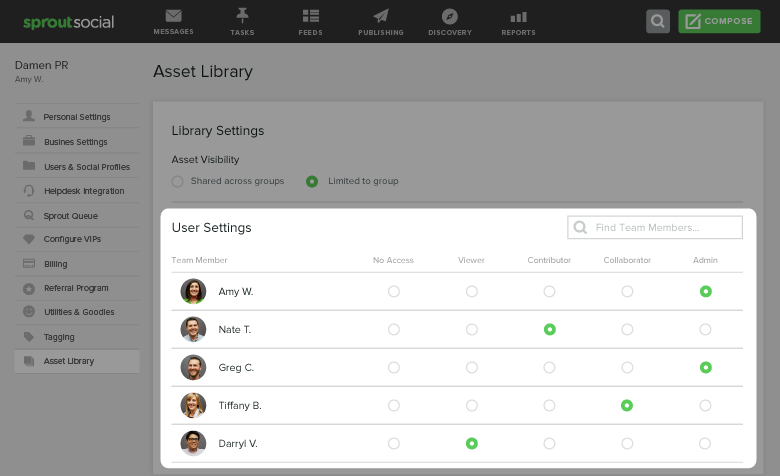
Note: These permissions are separate from Publishing permissions, available in the Users & Social Profiles tab.
Add or Delete Images in the Image Asset Library
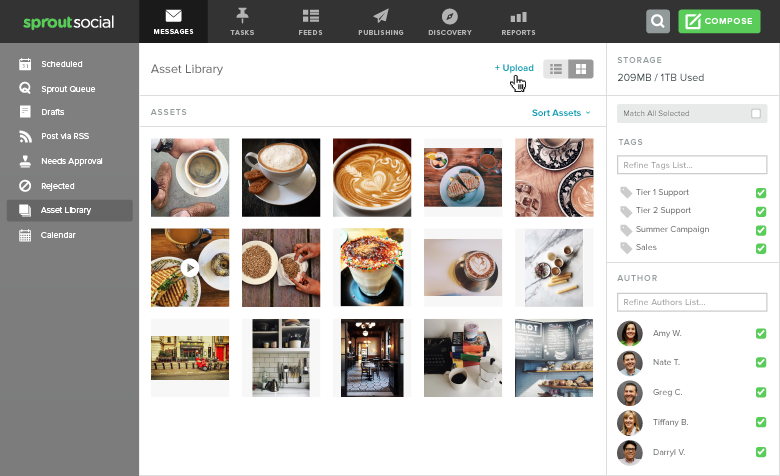
Sprout users in Advanced plans with Contributor permissions can add images to the Image Asset Library, while users with Collaborator permissions can also delete images.
- HOW TO ADD IMAGES:
- Go to the Publishing tab.
- Select Asset Library from the left navigation.
- Click Upload.
- Select an image and add a title, description and tag/tags (optional)*.
- Click Add Asset.
- HOW TO DELETE IMAGES:
- Go to the Publishing tab.
- Select Asset Library from the left navigation.
- Select checkbox(es) by the image or images you wish to delete.
- Click Delete.
Note: To learn about how to add and manage tags, please see the Create New Tags and Manage All Existing Tags release note.
Attach an Asset Library Image to Compose
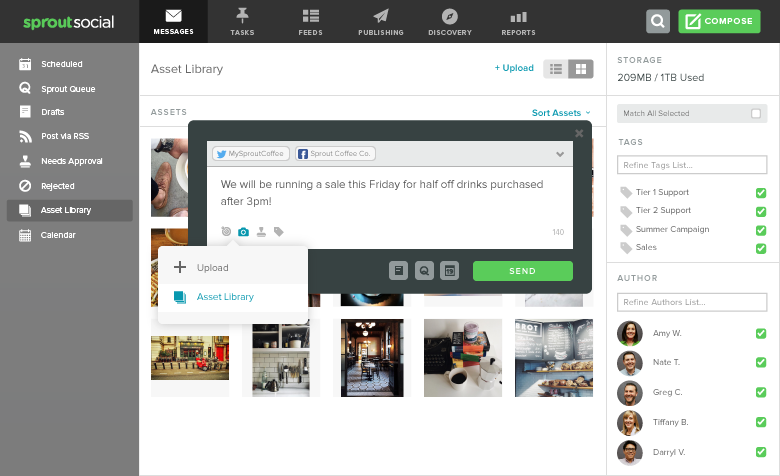
Images stored in the Asset Library (available in Advanced plans) can be attached directly from the Compose window or from the library. Any Sprout user with ‘Viewer’ and ‘Publish’ permissions can attach an image from the library.
- HOW-TO (from Compose):
- Select Compose.
- Click the camera icon, and select Asset Library.
- Select an image(s) and click Send to Compose.
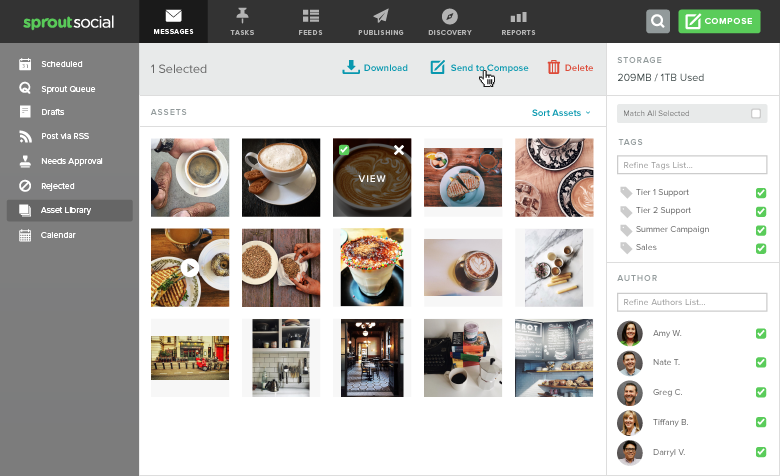
- HOW-TO (from Library):
- Click an image to see the detailed image view.
- Select Send to Compose.
- Or, click the checkbox in the top right corner to select an image.
- Select Send to Compose.
Share